Hair

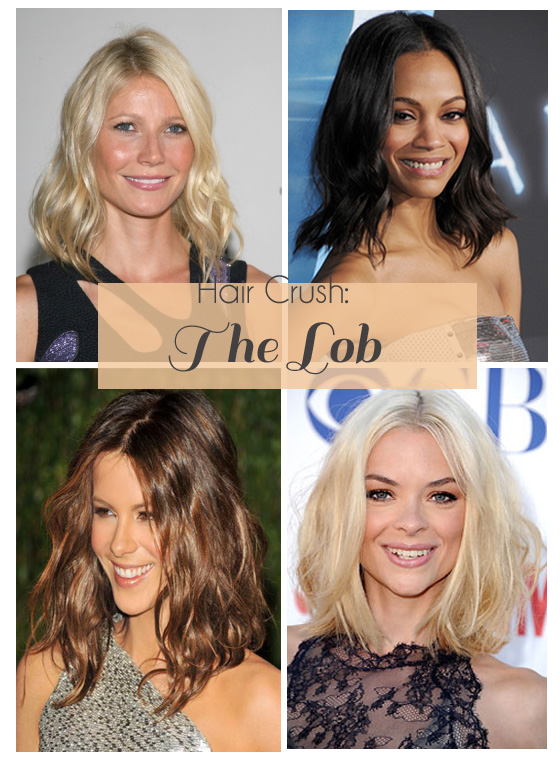
Hair Crush: The Lob

August 14, 2013

Two and a half years ago, I did something drastic. After months of feeling weighed down by my hair, I made an appointment at a hair salon and got 14 inches chopped off. I swear to god, I left the salon 10 pounds lighter that day. I donated my 14 inches of hair to Locks of Love and couldn’t have been happier with my new cut. Fast forward to two and a half years later and I was bored with my semi-long hair again. I longed for a real style, instead of just plain and long (read: boring). After browsing Pinterest for inspiration, I settled on a fresh, new summer hairstyle.

The Lob

If you’re gonna go for it, here’s a few tips:

  • Ask your stylist for the lob to be about 2 inches longer in the front than in the back (and to hit about an inch below your collarbone). This adds movement and texture and prevents the dreaded soccer-mom hair!
  • Let them know that you want feathery, piece-y long layers, especially in the front around your face. Make sure you emphasize that you want your ends tapered to eliminate any bulkiness.
  • This hairstyle looks the best with extremely long layers – just enough to add a bit of movement and pick up waves and curls. Do not ask for short layers!

Enjoy your sexy new hair!

XO, J

Beauty

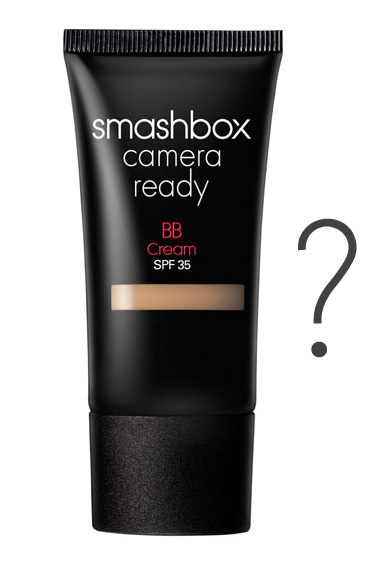
Makeup Review: Smashbox Camera Ready BB Cream

August 13, 2013

I gotta start this by saying that although I love luxurious cosmetics as much as the next girl, I try to be frugal with my money and only purchase truly quality products. I had heard so many rave reviews for Smashbox Camera Ready BB Cream, so since I was in the market for a new foundation, I walked over to Sephora the other night and purchased it.

Smashbox BB cream PS

I had high hopes for this baby, so I guess that’s why I feel so bummed that I didn’t like it. As usual, I did my research before buying it. I found many sources saying that this BB cream was the best on the market right now. I guess that’s probably why I’m so disappointed that this product didn’t work for me. Here’s why:

  1. The shade range is pretty small (five shades). I tested out both the Light and Fair shades in Sephora and decided on the Fair shade, which is the lighter of the two, as the Light looked too dark on my skin. After a few uses, it became clear to me that Fair was far too fair for my skin. It made me look pasty and washed-out (not cute).
  2. I expected more coverage. It claims that it’s medium coverage, but I would expect a more build able finish from a medium coverage formula. Even with more than one layer, the coverage remains light to medium (and my skin is relatively clear and problem-free, which brings me to my next issue…).
  3. It made my skin look even blotchier for some reason. It could’ve been that the shade of BB cream was too light for my skin tone, but the blotches and unevenness were only emphasized on my skin.
  4. By the end of the day, my t-zone was shiny. Even with my usual dusting of pressed powder in the morning, the greasies crept through this BB cream. Again, not a cute look to be sporting (and especially not something I want to worry about at work).

I had such high expectations for this BB cream based on the many great reviews it’s received. Again, what doesn’t work for some may work for others, so this is solely my opinion! Personally, I’ll be heading to Sephora tomorrow to return it (and then going to the M.A.C. store to buy this).

Style

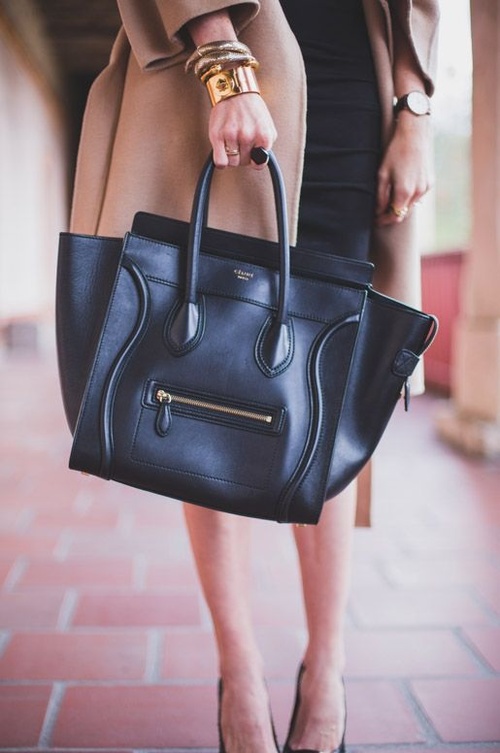
Every Girl Needs a Structured Bag

For most of college, I was schlepping around with a glorified sack hanging from my arm. Granted, hobo-style bags were in at the time… (excuses). Anyway, as a graduation gift to myself this spring, I finally stepped up and bought a beautiful, ladylike structured bag that I’m proud to carry around. There’s just something special about a fabulous structured bag that makes every outfit feel classy. I firmly believe that every woman at every budget should carry a beautiful handbag.

Here’s a round up of my favorite structured bags at every price point.

$50 & Under

$100 & Under

$250 & Under

$300 & Up

You’re well on your way to finding your perfect structured bag!

XO, J

Beauty

Beauty Blender: Worth the Hype?

August 5, 2013

A few months ago, you could hardly go anywhere without hearing about the Beauty Blender makeup sponge. Beauty gurus on YouTube hailed it as the best and only way to apply your liquid and cream foundation. Now that the hype has died down, my question remains: is the Beauty Blender all it’s cracked up to be?

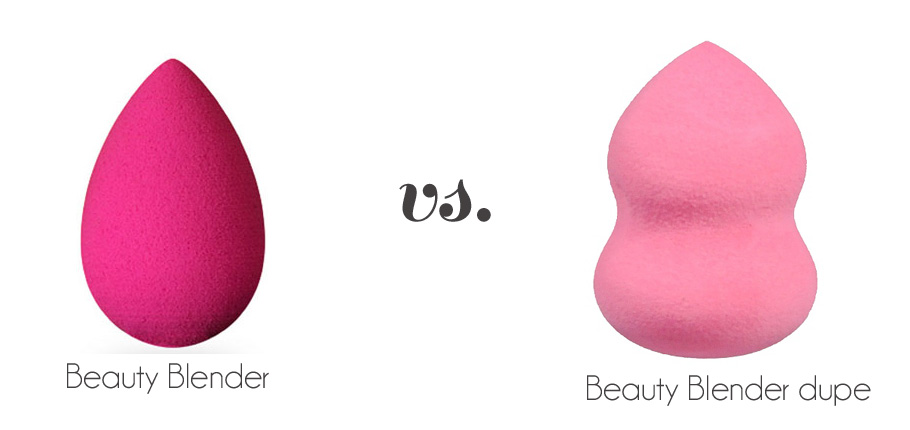
For those of you who don’t know, the Beauty Blender is a pink, egg-shaped, non-latex sponge. It also costs upwards of $30 at places like Sephora. It claims to blend your liquid or cream foundation into an airbrushed finish to leave you with flawless, glowing skin. But I’m sure I am not the only girl who did a little bit of research before running out to Sephora to spend 30 hard-earned dollars on a sponge. I’m here to give you the facts so that you can make an informed decision for yourself.

Beauty Blender

The thing about makeup companies is this: there are really great, high-end products out there that really are worth the money. There are also many, many wonderful dupes to high-end products that are virtually the same product without the brand name. Many times, one company will make a product and a different company will put their brand on it. This is called private labeling. Private labeling only becomes a problem when makeup companies jack up the price of their product simply due to their brand name. So here’s the scoop: you can buy the exact same product without a brand name for a fraction of the price.

I found a Beauty Blender dupe at Walgreens for $6. It is a fantastic product. This was an absolute no-brainer for me. Gals, run as fast as you can to Walgreens and pick one up! You won’t regret it, I promise.

XO, J

P.S. To use the sponge properly, hold under running water and squeeze 10 times (it expands). Then, wrap in a towel and squeeze out the excess water. Apply your liquid or cream foundation with the sponge in a buffing motion and you’ll look flawless!

Style

What to Wear to an Outdoor Concert

July 31, 2013

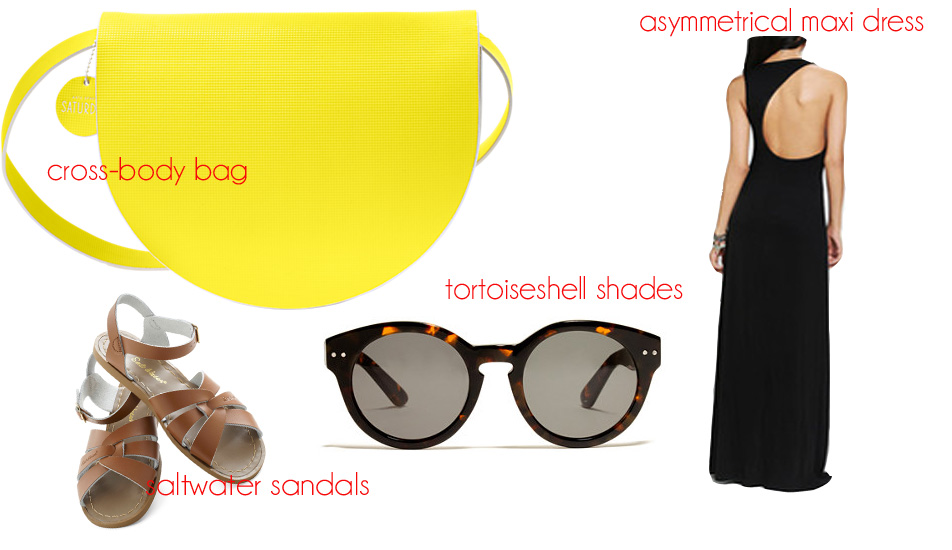
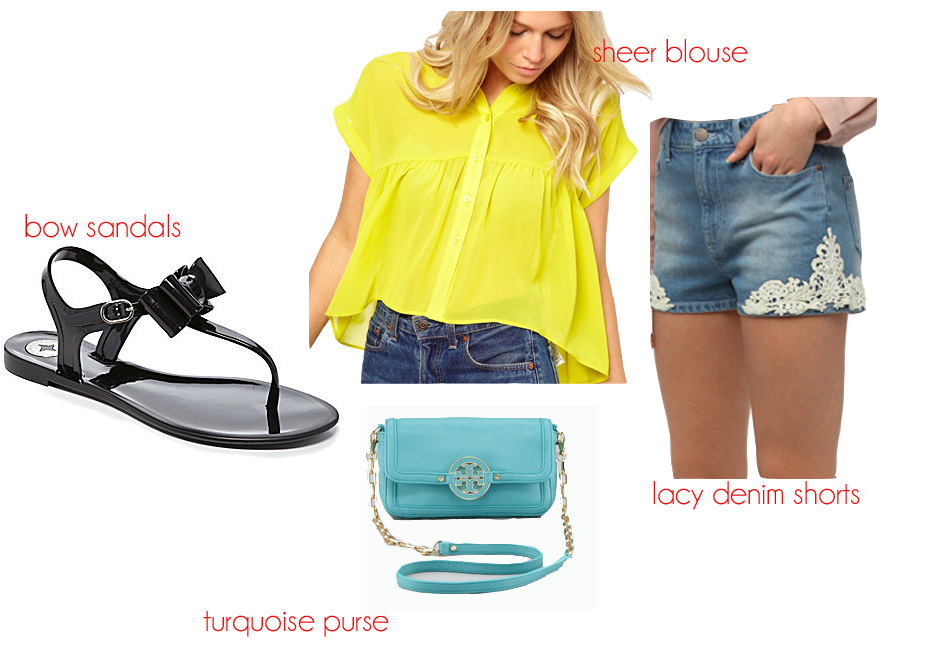
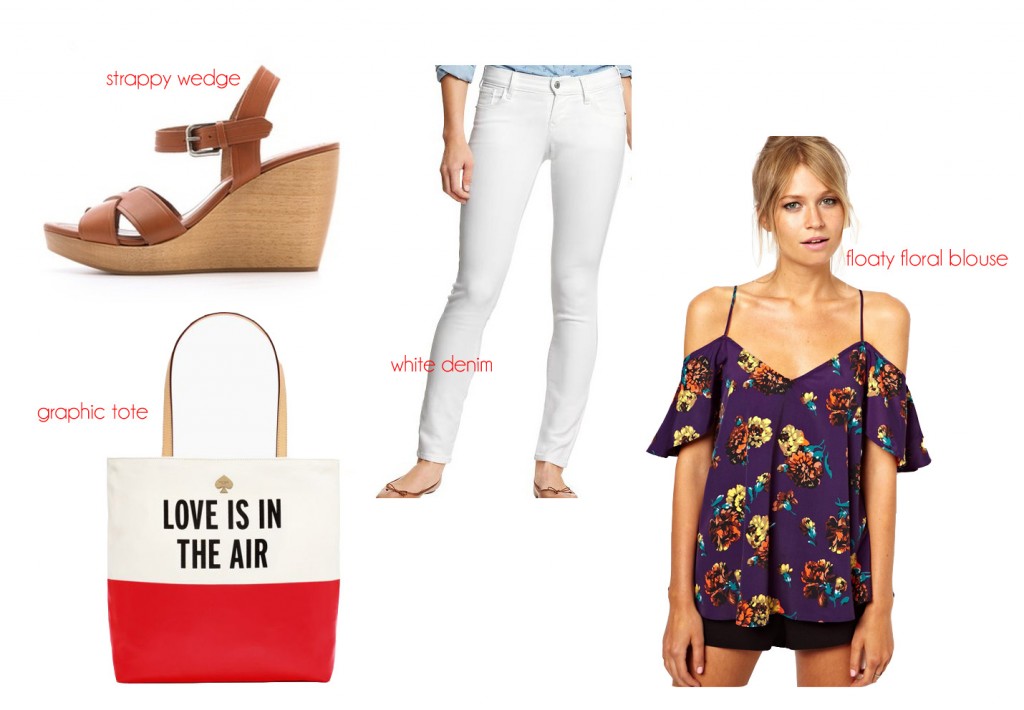
One of the best things about summer in New England is all the awesome outdoor concerts. This past weekend, my girlfriends and I went to see Train, The Script, and Gavin DeGraw perform at the Comcast Center. The weather was perfect and we had an amazing time taking in the music and relaxing. If you’re on your way to an outdoor concert or event, here’s a few outfit ideas to keep you looking cute and feeling comfortable!

Outfit #1

Outdoor concert outfit #1


Outfit #2


Outdoor concert outfit #2


Outfit #3


Outdoor concert outfit #3

XO, J

Hair

How to: Shampoo & Condition (like a pro!)

July 26, 2013

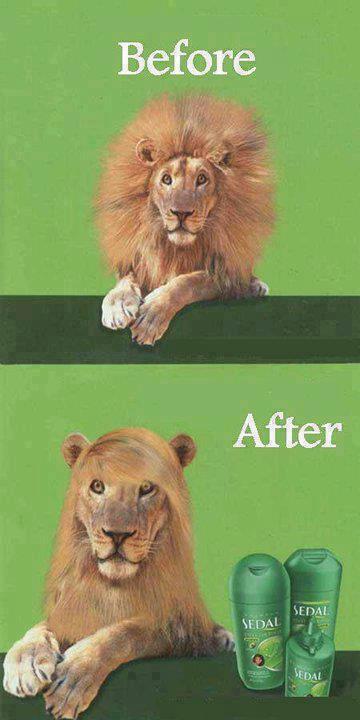
lion shampoo

Girls, there’s something about going to the salon that makes you feel like a rockstar. No matter how hard you try, you’ll never be able to replicate everything about that perfect, bouncy blowout. But not all is lost! I’m here to give you the steps to getting a little closer to that freshly-styled salon feeling (hint: it’s in the shampooing and conditioning techniques).

Step One:

Step into the shower and wet down your hair. I’m not talking about standing in the water for 10 seconds and then lathering up, gals. I’m saying stand under the water for a good minute to let the water penetrate all the layers of your hair and become saturated. If you have long and thick hair (like me), lift it up to make sure the hair in the middle gets wet, too.

Step Two:

Wash your body. This allows your hair to absorb the water even further. The point is that you want your hair to be as wet and saturated with water as possible.

Step Three:

Squeeze a handful of shampoo into your palm. Honestly, it doesn’t really matter how much you use (you’ll know when you’ve squirted too much, anyway). Then, emulsify the shampoo between your palms. Seriously, this is the most important part. Emulsifying it activates the detergents in the shampoo and helps you achieve a better clean.

Step Four:

Apply the emulsified shampoo to the crown and back of your sopping wet head first. By doing this, you are avoiding applying a large gob of shampoo directly to your forehead area and not evenly distributing it to the rest of your scalp. Yes, shampoo is for your scalp only. Do not actively shampoo the rest of your hair (rinsing the shampoo out cleanses the ends as much as they need, anyway).

Step Five:

Rinse thoroughly. If you feel that your scalp didn’t get fully clean, don’t be afraid to lather up again. Since I only wash my hair about twice a week, I usually end up lathering up twice. After rinsing, gently squeeze the excess water out of your ends. If your hair is too wet when you apply your conditioner, it will be dilute and not as effective.

Step Six:

Squirt a generous amount of conditioner into your palm. Distribute briefly between palms (do not emulsify). Apply to the ends of your hair only. Remember, shampoo is for your scalp ONLY and conditioner is for your ends ONLY. Let the conditioner sit on your hair for a good 2-5 minutes to really absorb and deep condition.

Step Seven:

Rinse the conditioner out of your hair thoroughly. You’re good to go! Style your hair however you wish.

XO, J

P.S. How to: Blowdry Your Hair (the right way!)