Category Archives: Beauty

Beauty

Subscription Smackdown: Ipsy Glam Bag vs. Birchbox

April 23, 2014

ipsy glam bag vs. birchbox

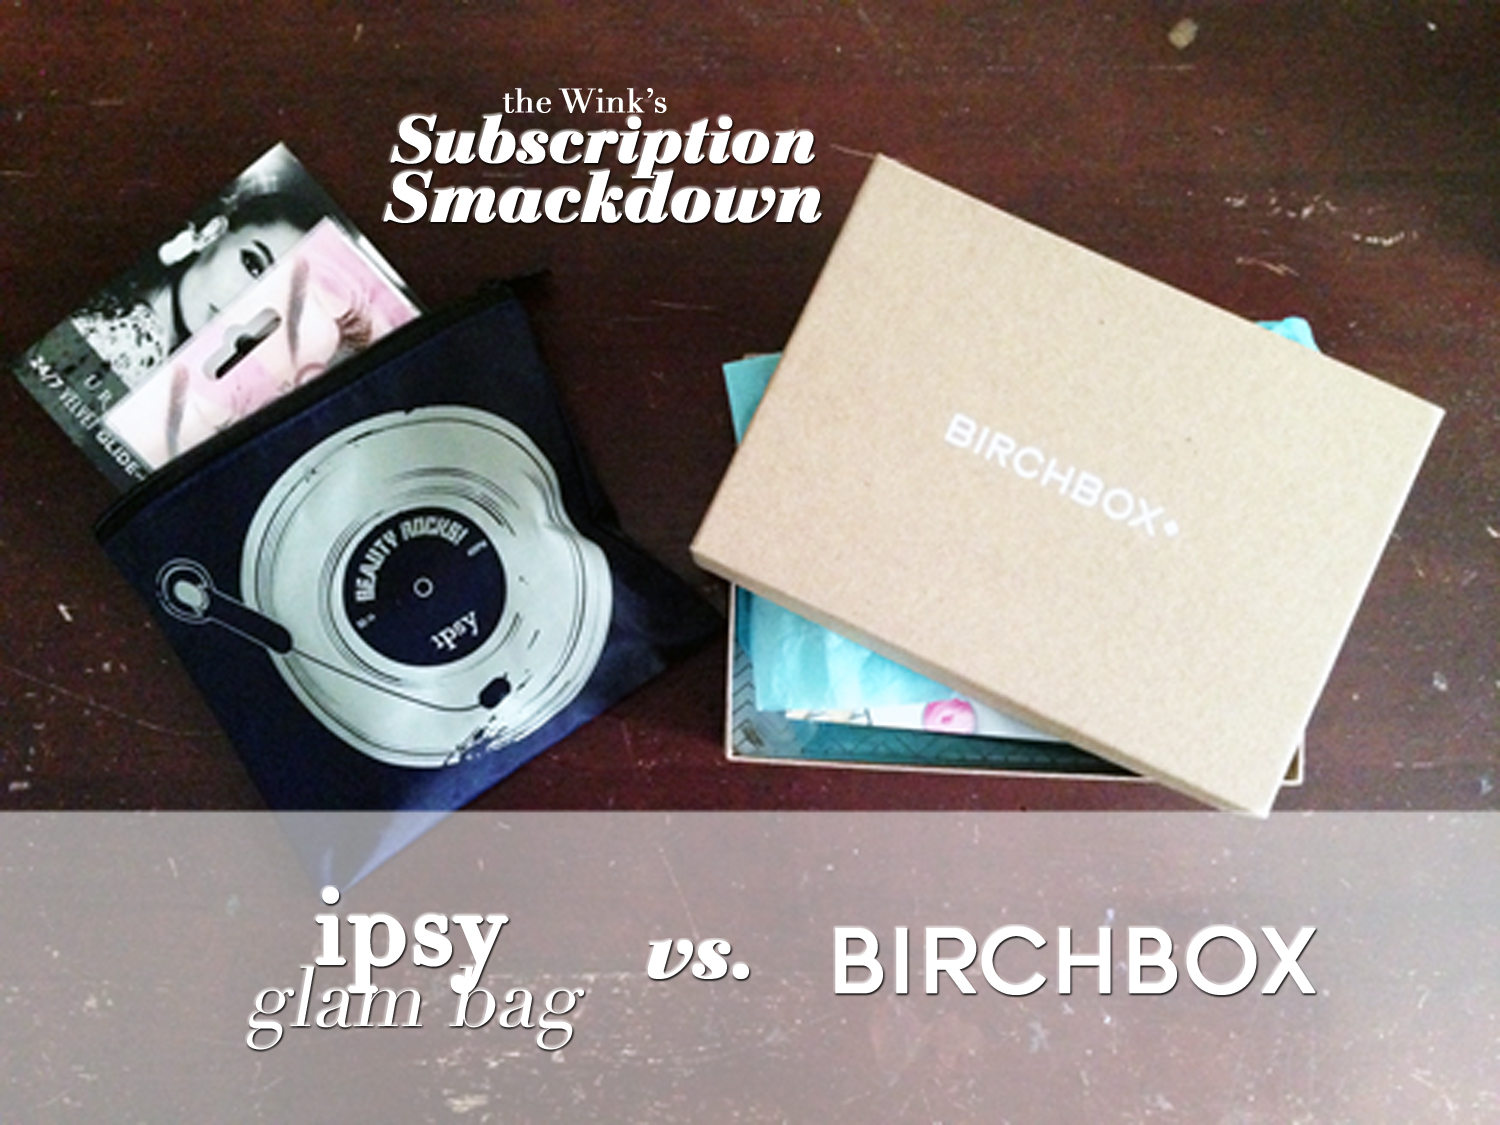
With the advent of all these new subscription boxes, keeping up with them can make a gal’s head spin. Which one is better? Am I wasting my money or will I be missing out? How will I know if they’re worth it? Since makeup is such a personalized item, it can be hard to objectively judge this kind of thing. Many other blog posts written about these subscription boxes have reviewed them based purely on personal preference. To see for myself, I subscribed to both the Ipsy Glam Bag and Birchbox, both $10/month with free shipping. However, to keep things objective, I measured them in the most equitable way possible: a breakdown of price based on the percent net weight for the full-sized product. Keep reading to see what came in my Ipsy Glam Bag and Birchbox and to find out which subscription gives you more bang for your buck!

ipsy glam bag

Ipsy2

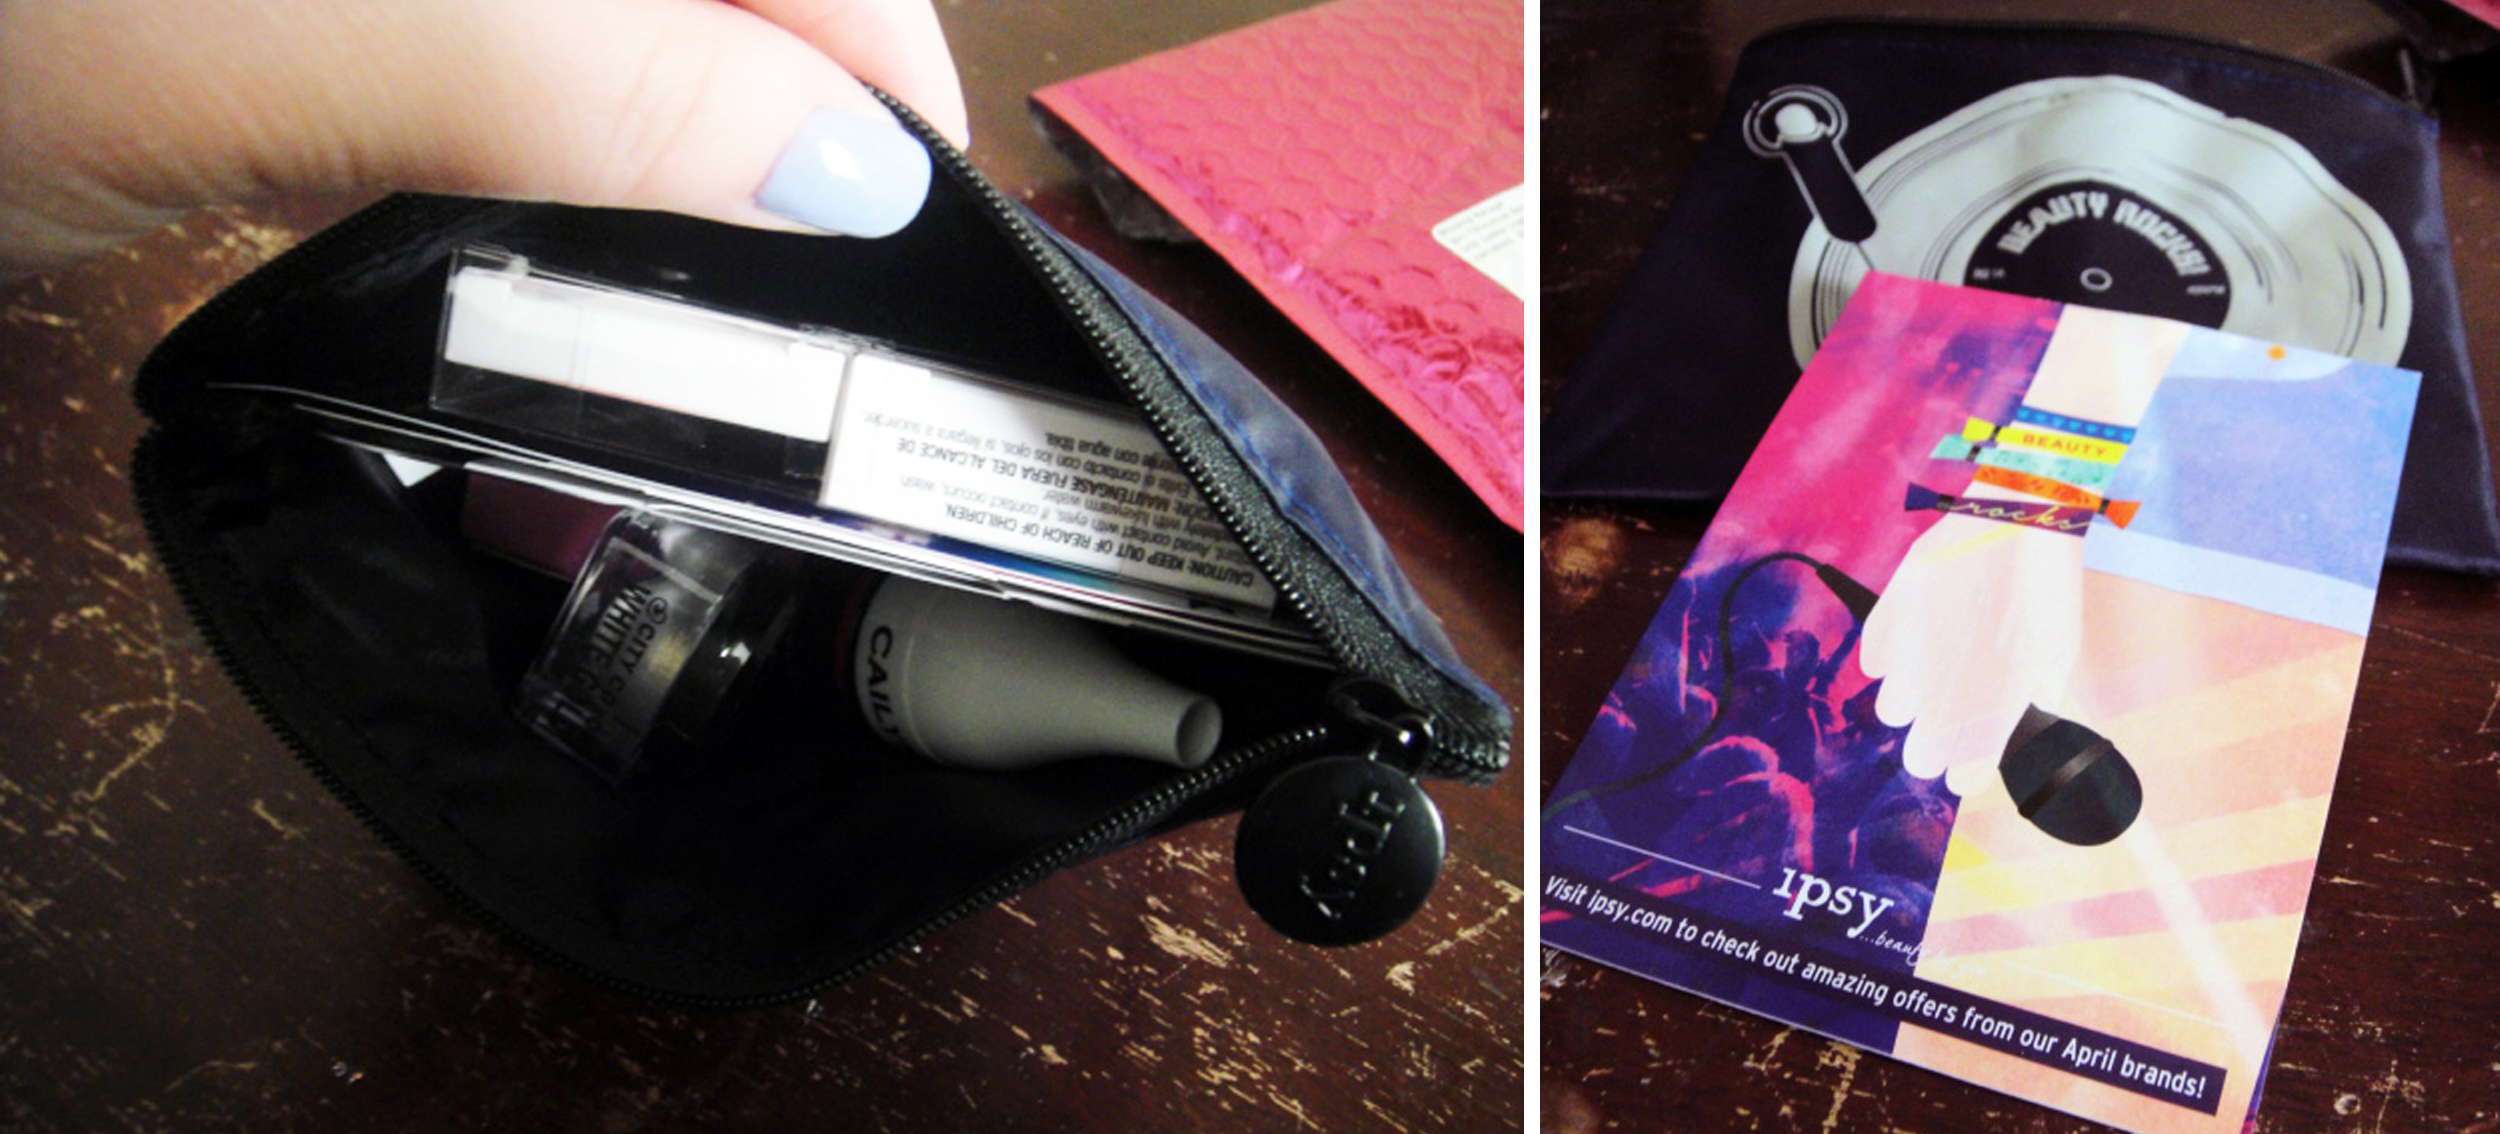
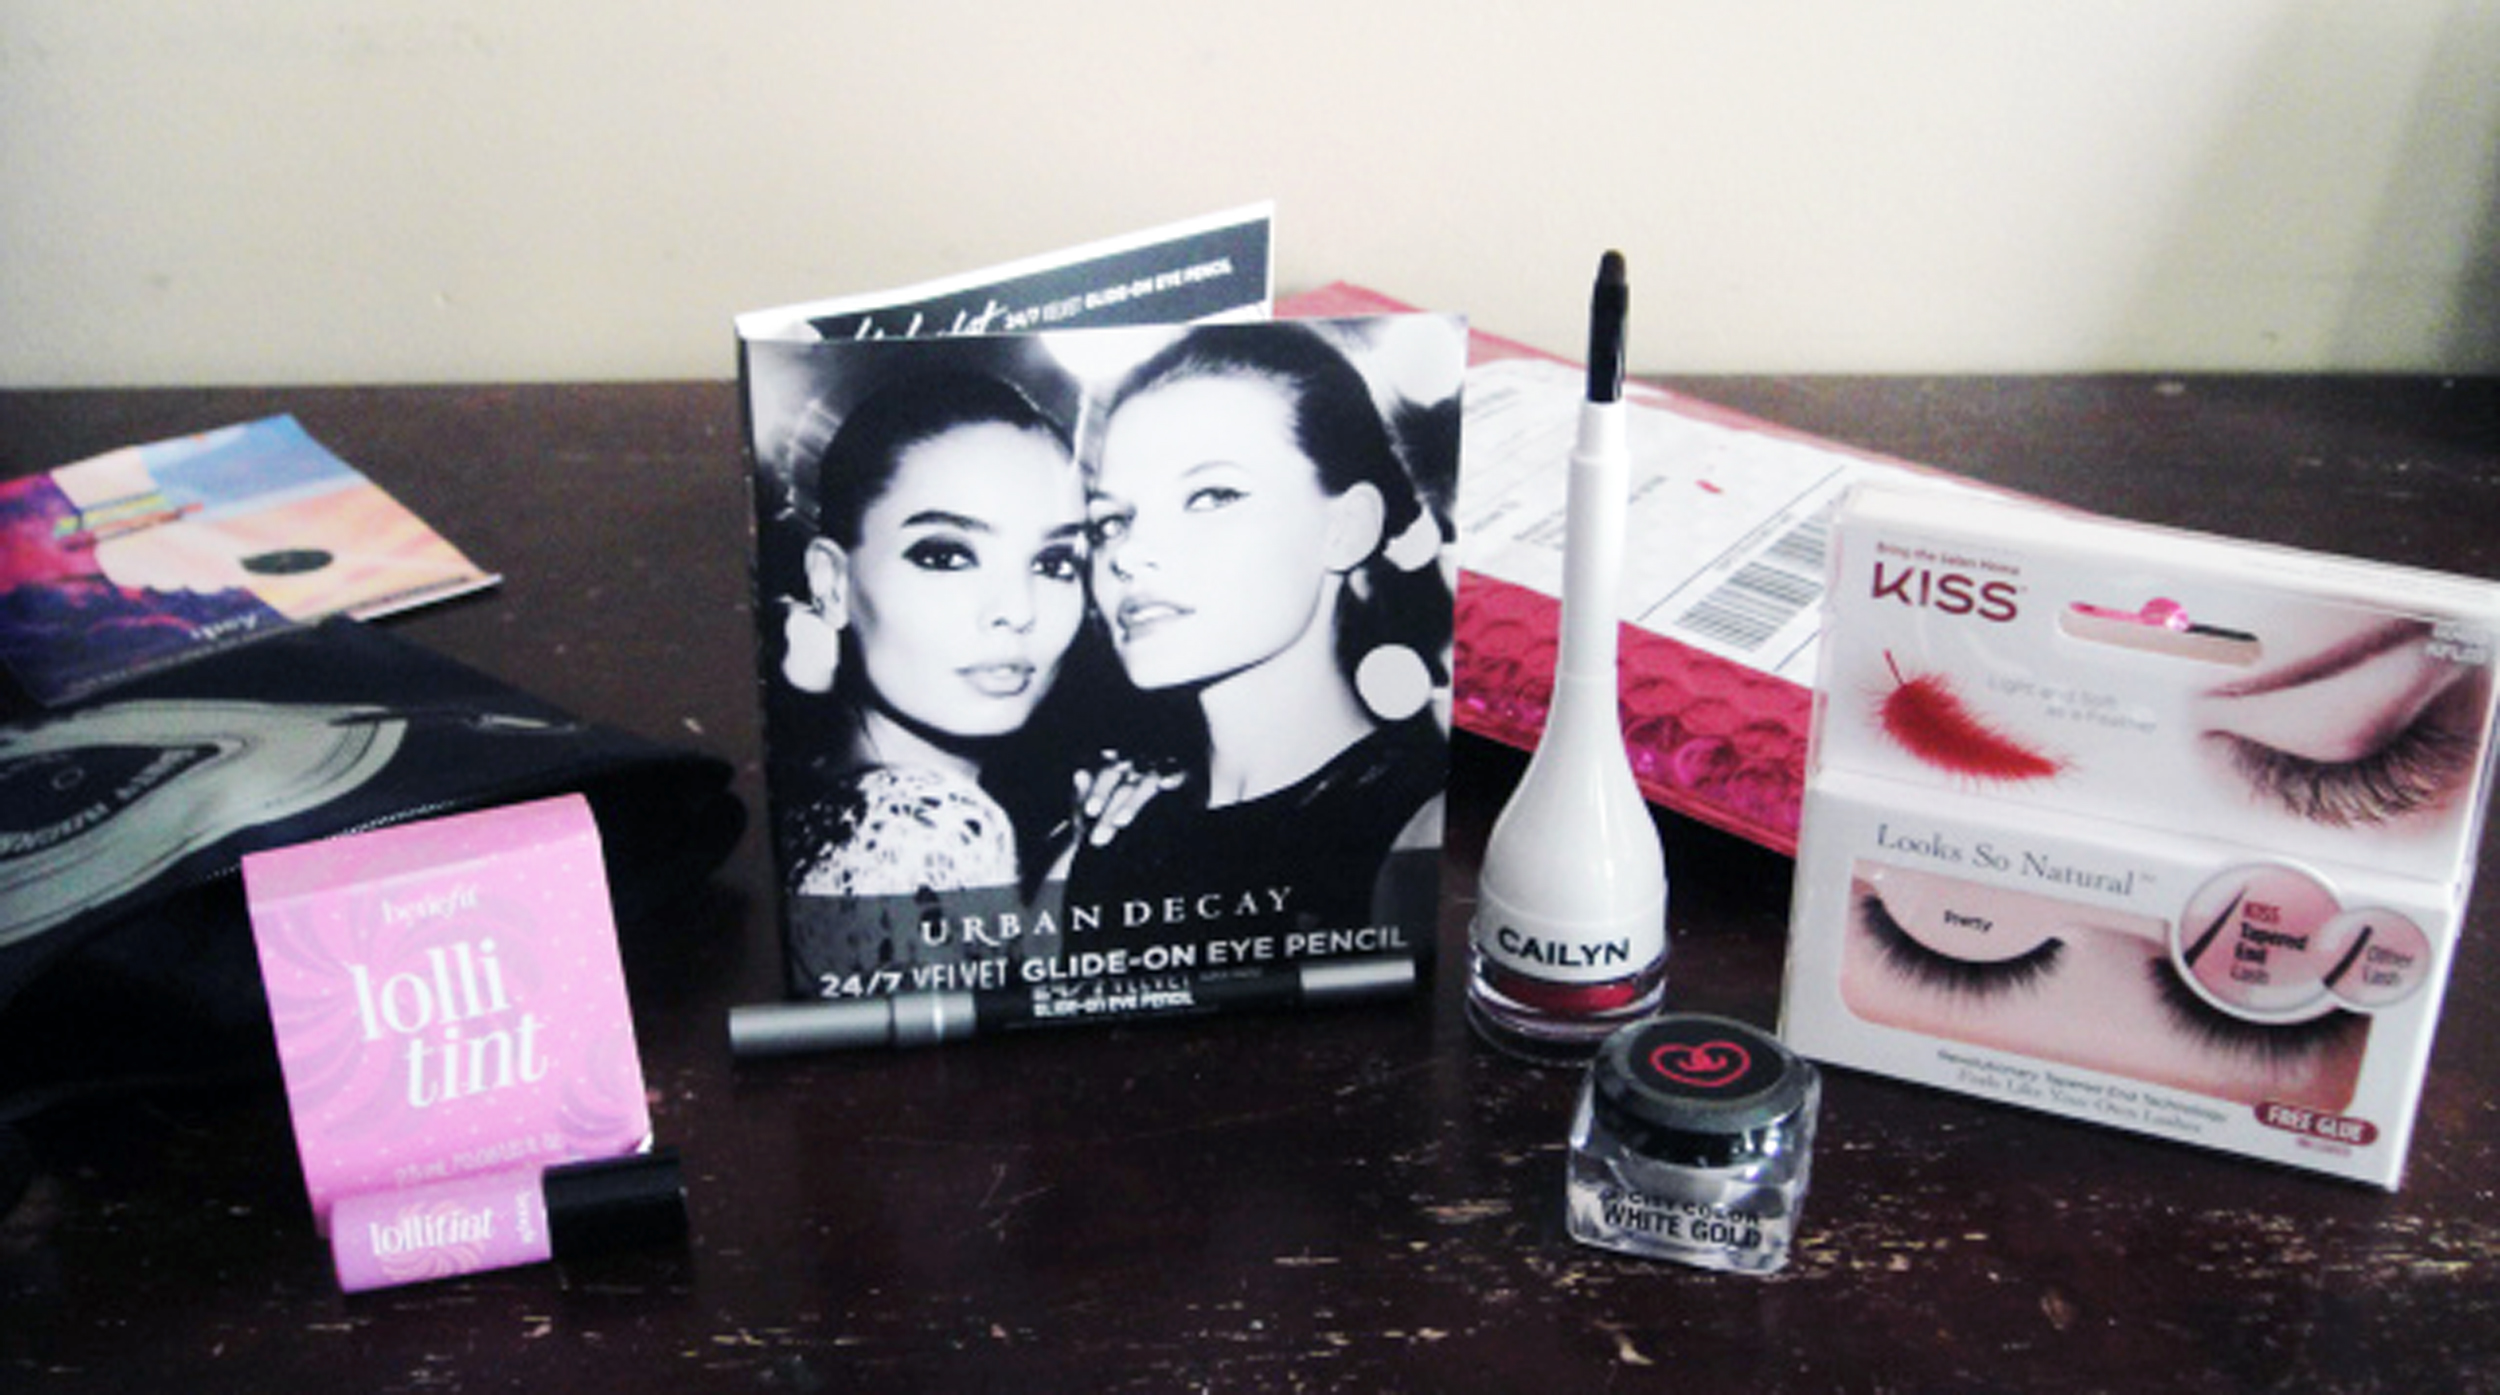
The Ipsy Glam Bag by Michelle Phan is very cosmetic-heavy. It is personalized for you based on preferences that you set when subscribing. I think they do a great job of personalizing the bags to suit your skin tone, hair/eye color, etc. Here’s what mine came with:

  • Benefit Lollitint Deluxe Sample (2.5 ml): $8. I’ve been waiting to try this product! First use shows that it is difficult to blend, so it’s probably better suited for lips than cheeks.
  • Urban Decay 24/7 Velvet Glide-on Eye Pencil (.03 oz): $15. This pencil glides on soft and easy and is great for a smoky eye. The pencil that came in the bag was nearly full-sized!
  • City Color White Gold Shadow & Highlight Mousse (.092 oz): $3.99. Super creamy (almost whipped) consistency. The color is a mix between silver and gold and has a nice shimmer.
  • Kiss Looks So Natural False Lashes (1 Pair): $3.99. I’ve had mixed results with false lashes in the past, so I’m looking forward to finding out how they look!
  • Cailyn Tinted Lip Balm in Acid Pink (.14 oz): $19.00. Pigmented matte lip color that leaves a nice stain on the lips. Comes with a built-in lip brush.

Total Value = $49.98

birchbox

Birchbox1

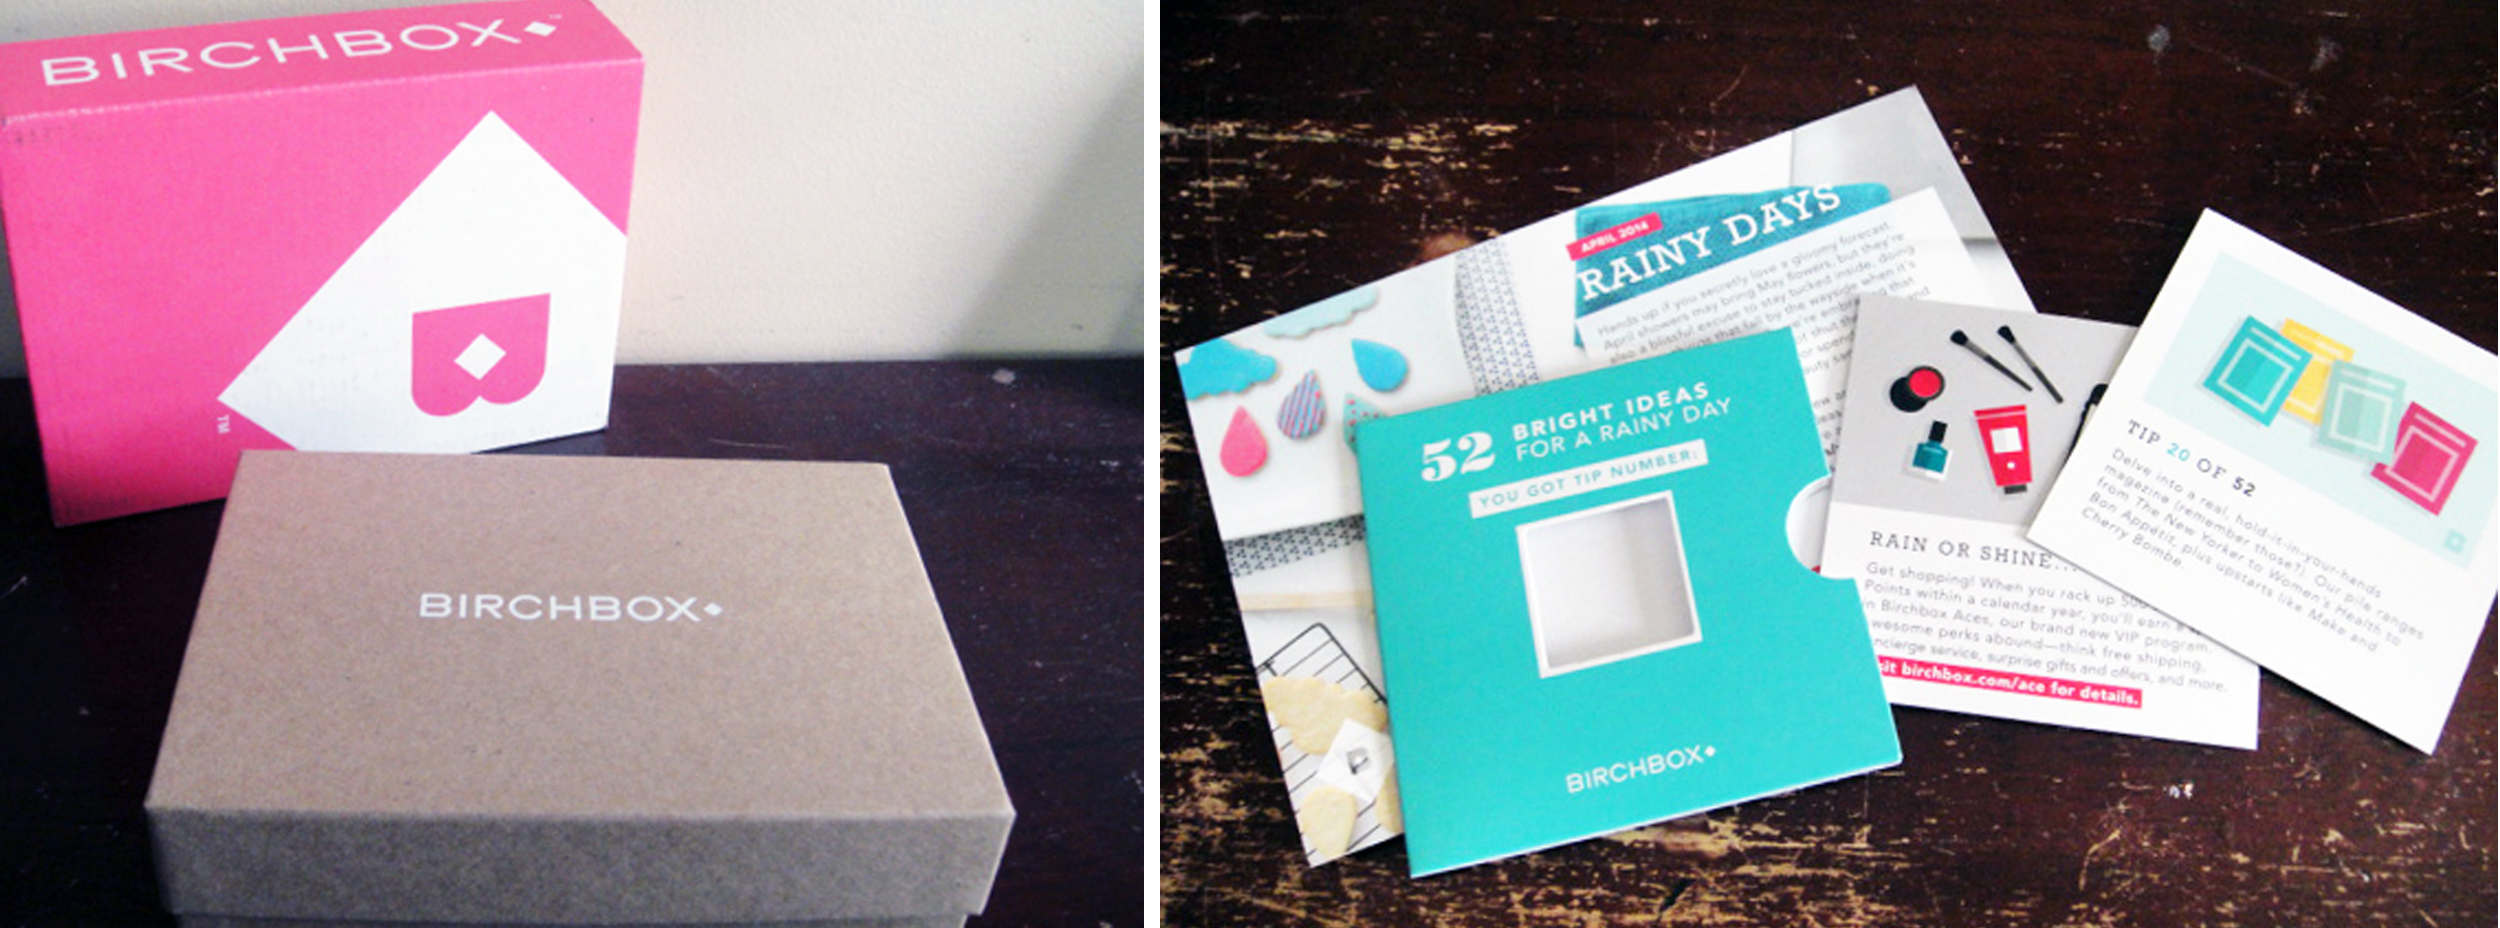
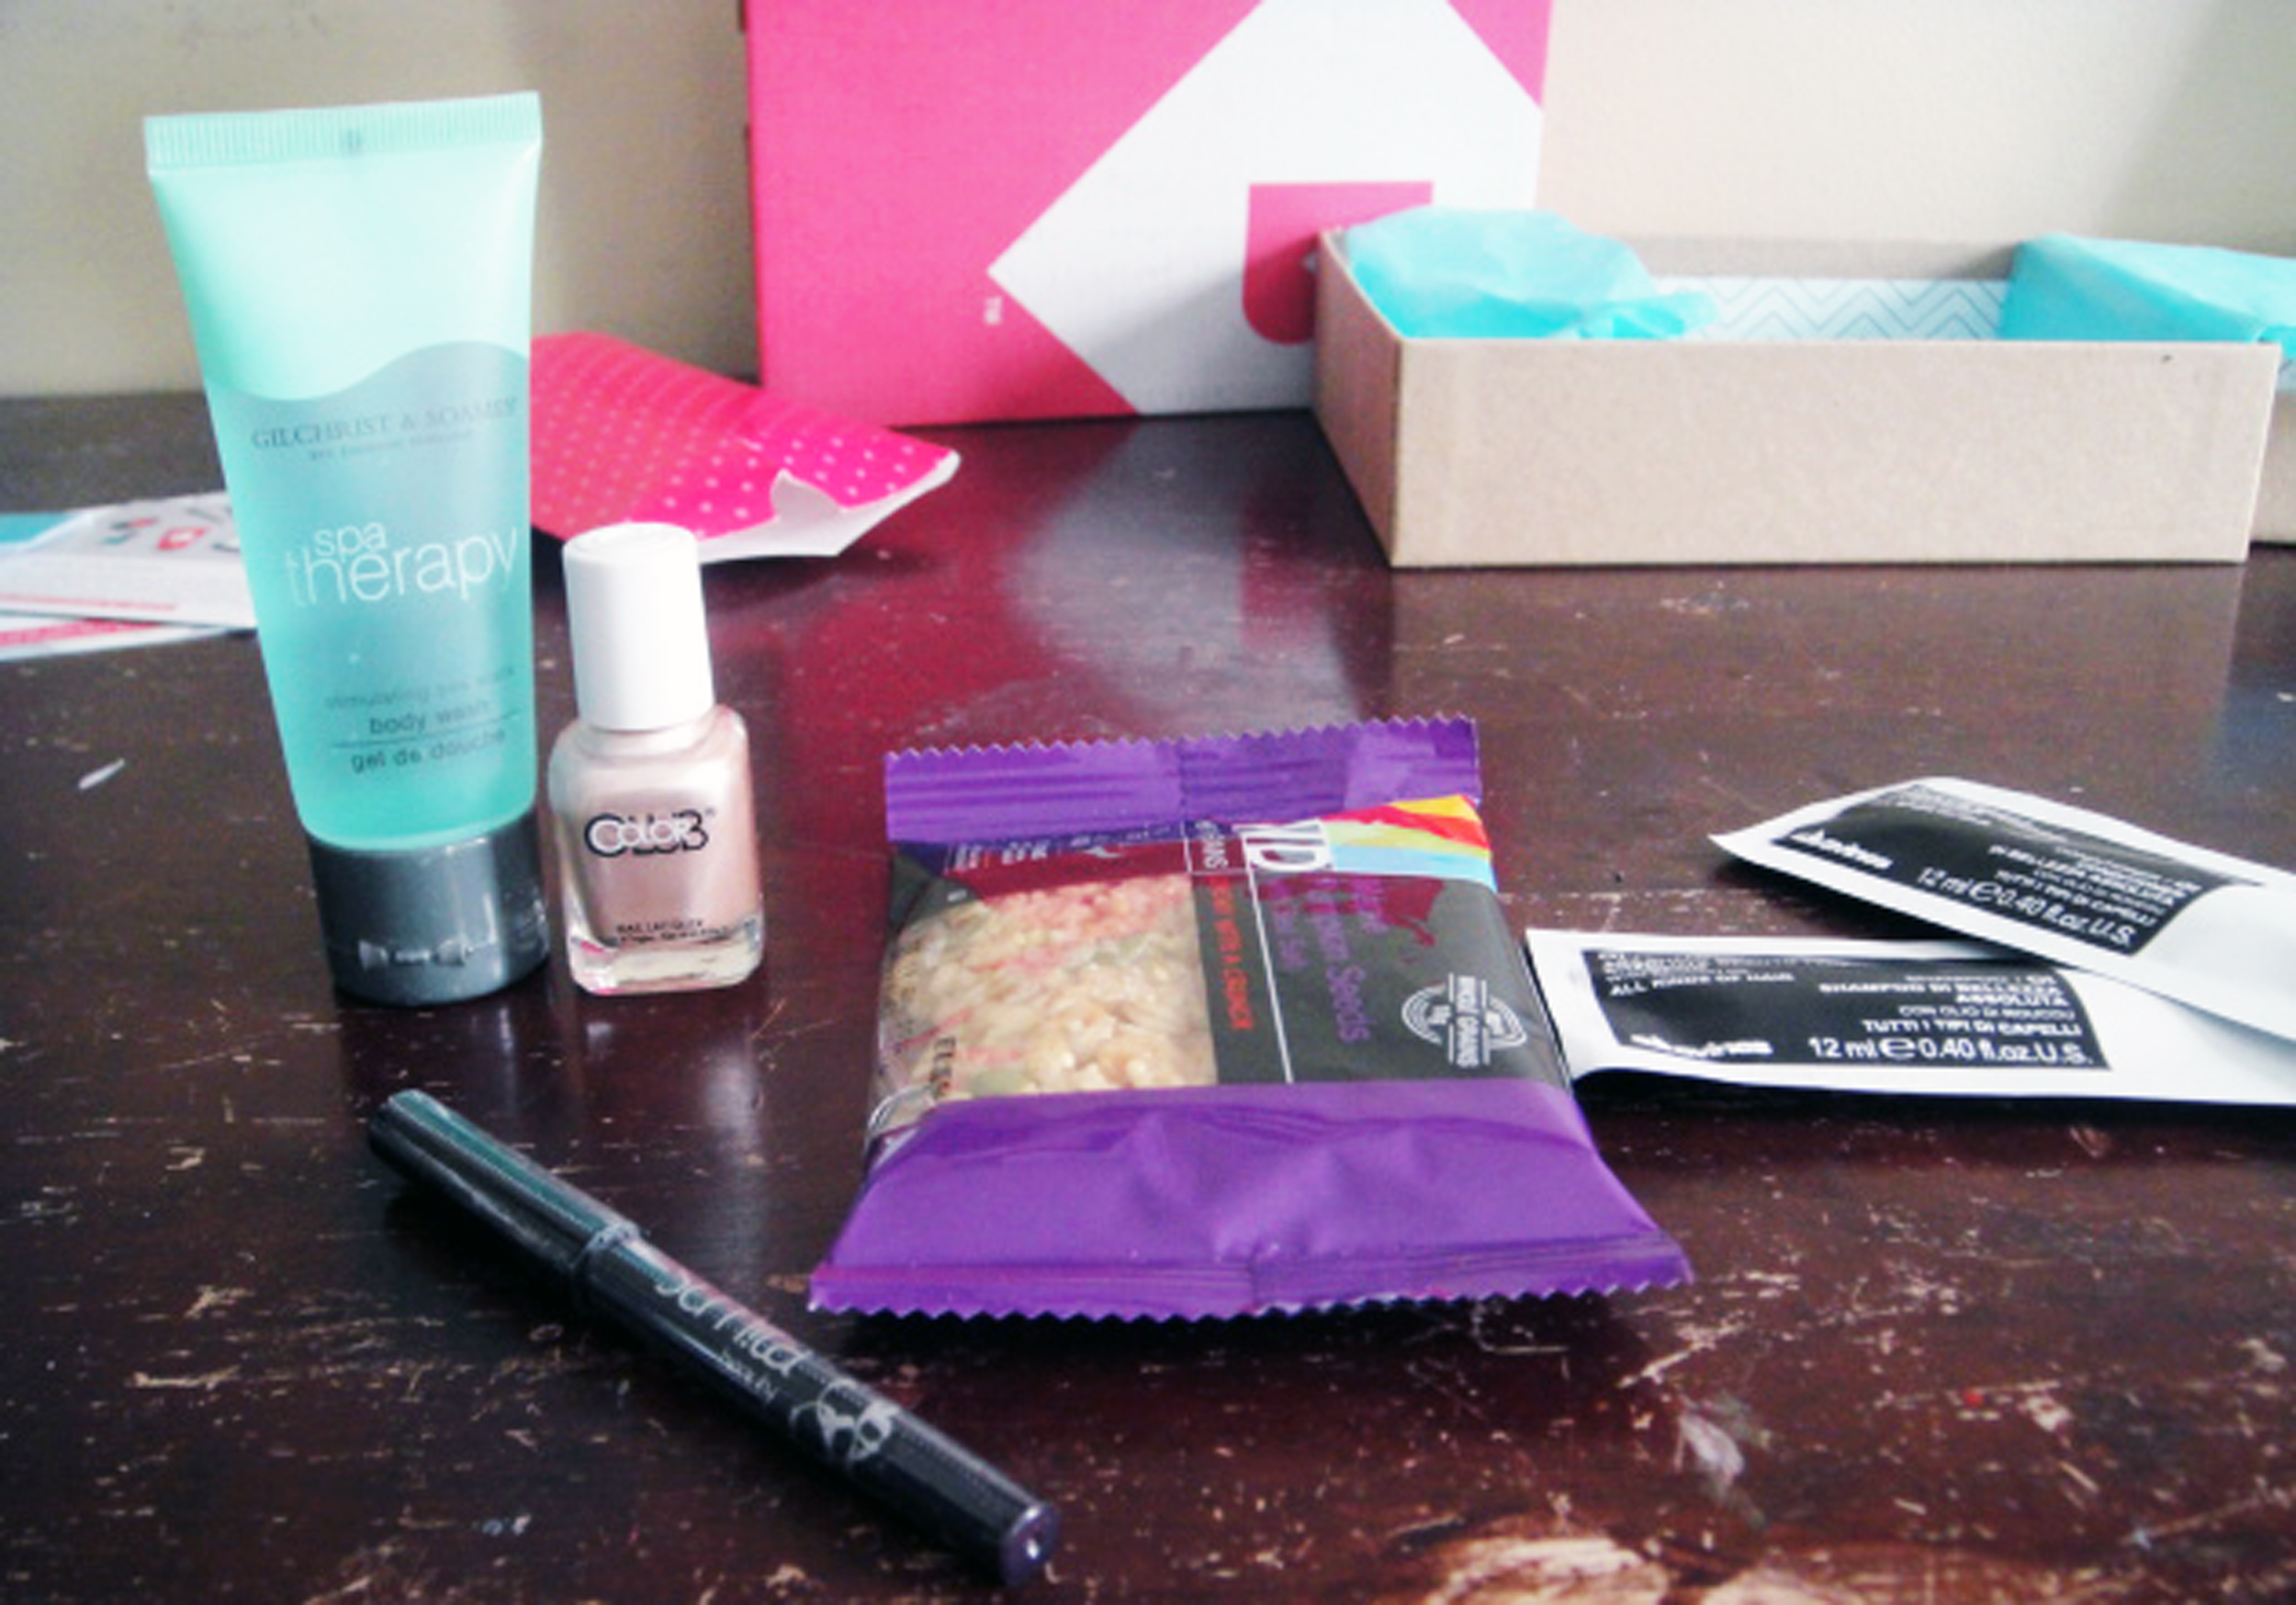
Birchbox is much more lifestyle-based than the Glam Bag. They like to include one “non cosmetic,” such as a food item, each month. Here’s what came in my Birchbox:

  • Gilchrist & Soames Spa Therapy Body Wash (1.35 fl oz): $2.53. Has a nice, clean, ocean-y smell.
  • Davines OI Absolute Beautifying Shampoo (12 ml): $1.11 and Davines OI Absolute Beautifying Conditioner (12 ml): $1.54. These samples are even smaller than hotel samples! I also found it annoying that they come in packets.
  • Color Club Nail Laquer in Gold Struck (7 ml): $4. Seems like a nice color, although I’m not a huge fan of shimmery nail polish.
  • Sumita Contrast Eye Pencil in Jamun (.024 oz): $5.25. A very dark plum colored pencil. Plum color not noticeable (looks almost black), but it’s good for subtly highlighting brown/hazel/green eyes. Pencil normally sold as part of a 4-pack.
  • Kind Bar, Maple Pumpkin Seeds with Sea Salt (1.2 oz): $0.79. Not much flavor… why is this even in here?

Total Value = $15.22

Calculations based on the percent of net weight for the full size.

The Ipsy Glam Bag blew Birchbox out of the water with value and had much more recognizable items and brands that I would have considered buying independently. Birchbox had nicer packaging, including cute tip cards, but I like how the Glam Bag came in a little cosmetic pouch with a pretty pattern. Also, I liked the pink sparkly package it came in – was fun to get in the mail! I was completely underwhelmed by Birchbox and I am considering unsubscribing from it.

The final result? In my opinion, Ipsy Glam Bag won hands-down. Based on the actual monetary value of the products included in each, Glam Bag beats out Birchbox 3:1.

XO, J

Beauty - Tutorial

How To: Master the 5-Minute Shower

April 9, 2014

tub

image via

We all have days that get started on the wrong foot. You hit snooze one time too many and suddenly you have 10 minutes to get out the door. Since I am the queen of the snooze button (and this happens to me literally every day), I’m here to show you how to master the 5 minute shower – and still have 5 minutes for hair and makeup!

  1. Start by quickly rinsing off your body under the water. Lather up your loofah with body wash and only wash skin that touches other skin. Wash your neck, your underarms, underneath your breasts, between your legs… you get the picture. You do not need to wash your lower arms/hands/legs/feet at all. Just rinsing off the suds will passively clean them as much as they need. Time: 2 minutes
  2. Skip washing your hair (we all know how I feel about excessive hair washing)! If it’s looking particularly greasy, spray in some dry shampoo and tousle lightly with fingers. Time: 0 minutes
  3. Wash your face. I use my Clarisonic, so I know it takes exactly one minute to go from dirty to clean. Time: 1 minute
  4. Use the last couple of minutes you have to quickly shave the bottom half of your legs. Ain’t nobody got time to shave their upper legs on days like this. Time: 2 minutes

And you’re done! Slip on a black jersey dress (my secret weapon for lazy days), pull up your hair in a top knot and blend some BB cream with your fingers. A swipe of mascara and a dab of cheek & lip stain and you’re out the door!

XO, J

Beauty

Product Smackdown: Josie Maran Argan Oil vs. Tarte Maracuja Oil

April 7, 2014

Product smackdown

Have you ever tried out a facial oil? They’re kind of this new and awesome beauty product that can be swapped out in lieu of your regular daily moisturizer. For the Wink’s first ever product smackdown, I tried out both the Josie Maran Argan Oil and the Tarte Maracuja Oil. Keep reading to see how they stacked up and which one I loved (and which one I didn’t)!

Josie Maran Argan Oil: Just a few drops of this oil on a freshly cleansed face will leave you with radiant skin all day. I have fairly dry and sensitive skin and this oil absorbed quickly and left my skin perfectly balanced and moisturized all the live-long day. I even put a few drops in my hair and it helped to tame frizz! I was very pleased with the results this oil gave me. The only con? I used 4-5 drops on my face daily (and a few more drops on my hair) and went through the bottle pretty quickly. At $48 per 1.7oz, it’s not particularly easy on your wallet.

Tarte Maracuja Oil: I wanted to love this product, but next to the Josie Maran Argan Oil, it just didn’t compare. I had similar results with both oils on my complexion – a radiant, dewy glow that lasted all day. This oil, however, had a strange odor (almost like it had gone rancid) that didn’t dissipate. Also, the applicator dropper was kind of difficult to use and made me frustrated on several occasions. I never tried it, but I wouldn’t recommend putting this oil in your hair like I did with the Argan Oil. The consistency was slightly thicker and more viscous and seemed like it would weigh hair down. And, at $46 per 1.7oz, both prices tags are virtually the same.

The verdict? I would re-buy the Josie Maran Argan Oil and I would not re-buy the Tarte Maracuja Oil. I would also be interested in trying the light version of the Argan Oil! Personally, I felt like I had better results with the Argan Oil than I did with the Maracuja Oil. Although my skin felt and looked similarly moisturized and dewy with both oils, there were certain things (the smell, the dropper) that I didn’t care for in the Maracuja Oil. This is just my opinion, though! I’d love to know…

Have you ever tried these products? Do you agree with my choice? Let me know in the comments section below!

XO, J

Beauty - Organization

Spring Cleaning: Makeup Bag

April 3, 2014

Happy Spring, gals! We are kicking off the season the right way by tackling some much-needed Spring cleaning. What better place to start than your makeup bag? It’s time to dig deep and throw away that glitter liquid eyeliner from that Halloween costume three years ago (you know the one) and restock your bag with some fresh supplies. I’ve put together a handy infographic for you to reference while you clean!

Spring Cleaning

Mascara: I know, I know. It seems a bit ridiculous to feel like you’re constantly throwing away and repurchasing tubes and tubes of mascara. But trust me – three months is more than enough time for some nasty bacteria to grow and wreak havoc on your precious peepers.

Eyeliner: Again, with a product that touches your eyes, you need to be diligent in keeping it fresh and sanitary. With pencil eyeliners you can be a little more lax, because it frequently gets sharpened and may be used less than your everyday mascara.

Foundation: As soon as your liquid foundation separates into viscous layers that can’t be shaken out, it’s time to chuck it. Most liquid and cream foundations have a shelf life of about one year.

Lipstick + Lipgloss: Lipgloss usually starts to get pretty funky and separate out after about a year. Lipstick lasts longer than lipgloss and you can comfortably use a tube for about a year and a half. However, as soon as your lipstick starts to smell funny or change consistency, you should get rid of it.

Nail polish: You know you have bottles in your nail polish collection from middle school. And unless you are still currently in middle school, throw them away. If nail polish is kept properly stored in a cool, dry place it can easily last two years. Once it starts getting thick or changing colors, though, you should toss it.

Blush + Powder: Kept dry, blush and powder compacts are extremely shelf stable and will easily last 2 years. It’s hard to tell when they’ve expired, so a good rule of thumb is to ditch your old compacts after a couple of years. Chances are you will have gone through most of it in that time anyway.

Perfume: A great fragrance will last you many years, so it’s a good investment. Fragrances that contain citrus are less shelf stable due to the acidity of the oils. Eau de parfum has a longer shelf life than Eau de toilette due to the higher concentration of fragrance. You’ll know when the color clouds and darkens and the scent changes that it’s time to throw away.

What are some of your Spring cleaning tips?

XO, J

Beauty

10 Life-Saving Beauty Hacks

March 27, 2014

wink

There’s nothing worse than being in a jam and not having a quick solution. Over the years I’ve picked up a few quick tricks to help me out of sticky situations. Here’s a list of my favorite life-changing (and life-saving) beauty hacks!

  1. In a pinch, Advil can work as an awesome cheek stain. Just lick the coating on the pill, press into cheeks and quickly blend.
  2. Look fresh and awake by putting a few drops of Visine in each eye. Then, swipe the residual powder blush left on your brush over your brow bones. Visine also works wonders on reducing the redness of a pimple!
  3. Got a dress you love to wear but can’t zip yourself? Tie a long piece of ribbon to a safety pin and fasten the pin to the zipper. Hold the zipper at the bottom with one hand and pull the ribbon up with the other. You can easily remove the safety pin and ribbon once the dress has been zipped.
  4. Ran out of nail polish remover but can’t stand the sight of your chipped polish? Paint a quick coat of clear top coat on your nails and rub off. This might take a few tries but it definitely works!
  5. To enhance the curl of your eyelashes, heat your metal eyelash curler under your blow dryer for 5-10 seconds. Make sure to test how hot the curler is before touching to your eyelid!
  6. Lost an earring back? Use a pencil eraser. Cut the eraser off the pencil and stick onto the post for a makeshift back.
  7. Heels half a size too big? Use several (4-5) strips of moleskin or duct tape on the back of the heel for an easy (and cheap!) heel stop.
  8. Before chucking that shattered blush/powder/eyeshadow/bronzer compact, try this quick fix! Mash up the smithereens until they’re powdery. Pour in a small amount of rubbing alcohol and mix until a paste forms. Press the paste into the compact using a flat-bottomed glass or bottle. Allow 24 hours for the alcohol to evaporate fully and voila! Your compact is as good as new!
  9. For eyelashes that are extra thick, lengthened, and defined, apply one coat of mascara and tap some powder onto the tips of your eyelashes (using a Q-tip). Then add a second coat of mascara. The mascara sticks to the powder and makes for amazing lashes!
  10. Make a grown-out shellac manicure look new again by painting glittery half-moons. The texture of the polish will disguise any bumpiness between the shellac and new nail growth.

What are some of your can’t-live-without beauty hacks?

XO, J

Beauty

Everyday Contouring 101

March 17, 2014

everyday contouring

It seems like every time I log onto Pinterest, a new “how to contour and highlight your face” pin pops up in my home feed. Many of these tutorials require several shades of concealer and a myriad of brushes, creams, and powders. For those of us who’d rather look natural and glowy than a bronzed glamazon (sorry Kim K.), I decided to come up with a contouring tutorial for an every day look. Check out my steps below!

STEP 1

01. Start with a foundation/base of your choosing. I like to use a tinted moisturizer or BB cream.

STEP 2

02. Using a highlighting concealer 1-2 shades lighter than your skin tone, draw an upside-down isosceles triangle underneath your eyes. The point of the triangle should extend down to the sides of your nostrils and the hypotenuse should extend along your cheekbone and out to your temple (and you thought you’d never use geometry!). Blend the concealer in with your ring finger.

STEP 3

03. Using a large, fluffy powder brush, apply a matte powder bronzer directly underneath your cheekbones, blending out towards your hairline.


04. Swipe the residual bronzer underneath your jaw line.


05. Grab a bit more bronzer and blend into your temples and hairline. Swipe the brush down the bridge of your nose once.

STEP 4

06. Apply the rest of your makeup (fill in brows, apply mascara and blush). Use a linen pink highlighting pencil to draw a thick line underneath your brows and above the outer half, past the arch. Blend, blend, blend with your ring finger (you don’t want it to look chalky).

STEP 5

07. Swipe a shimmery champagne highlighter above your cheekbones, down the bridge of your nose, on your cupid’s bow, and on the inner corners of your eyes. Blend into skin for a seamless finish.

FINAL

08. Finish the look with your favorite lipstick and you’re all done. Take that, Kim K.!

XO, J

P.S. How to find your cheekbones.