I thought it was about time I put together a list of my favorite products that I find myself reaching for again and again. Some are new discoveries, but most are old favorites that I never seem to grow tired of. I’m so excited to share my tried-and-true favorites with you!
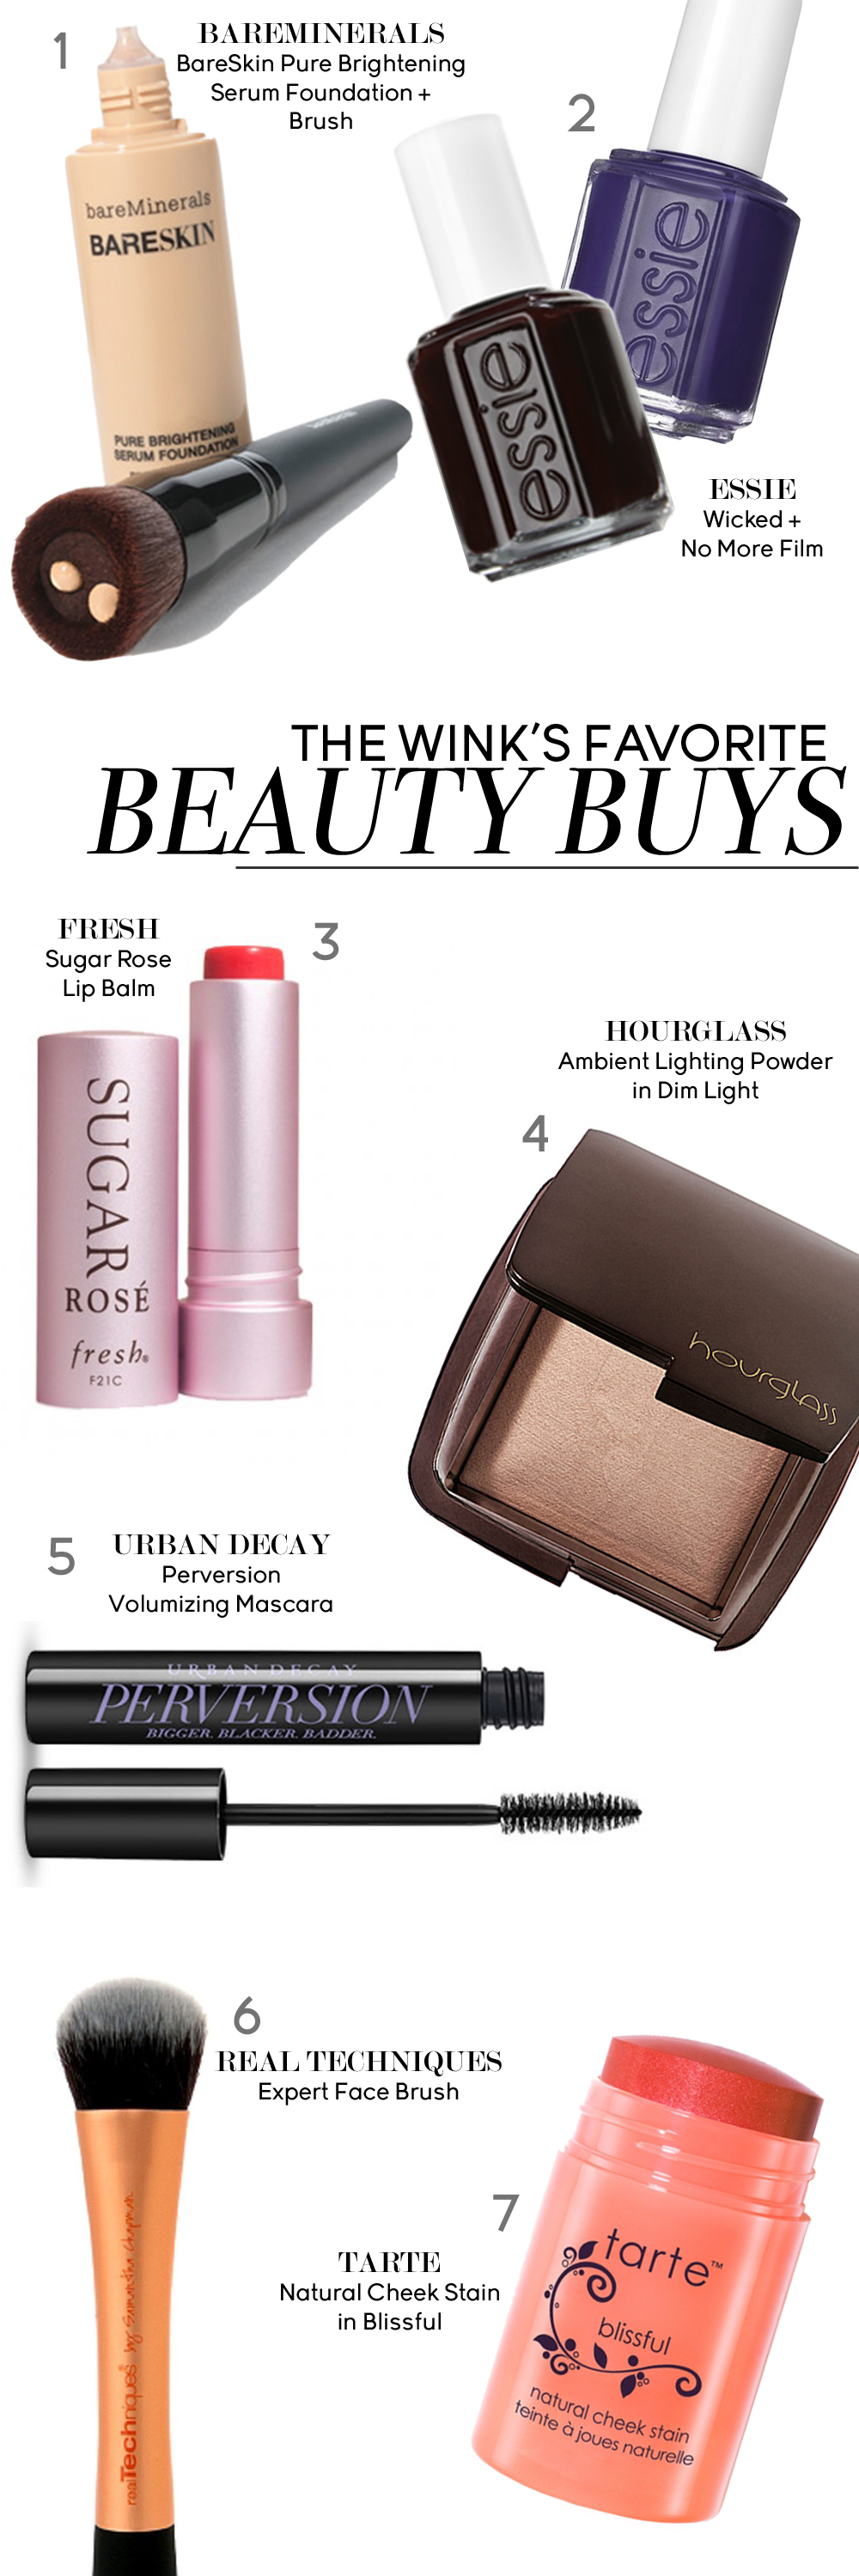
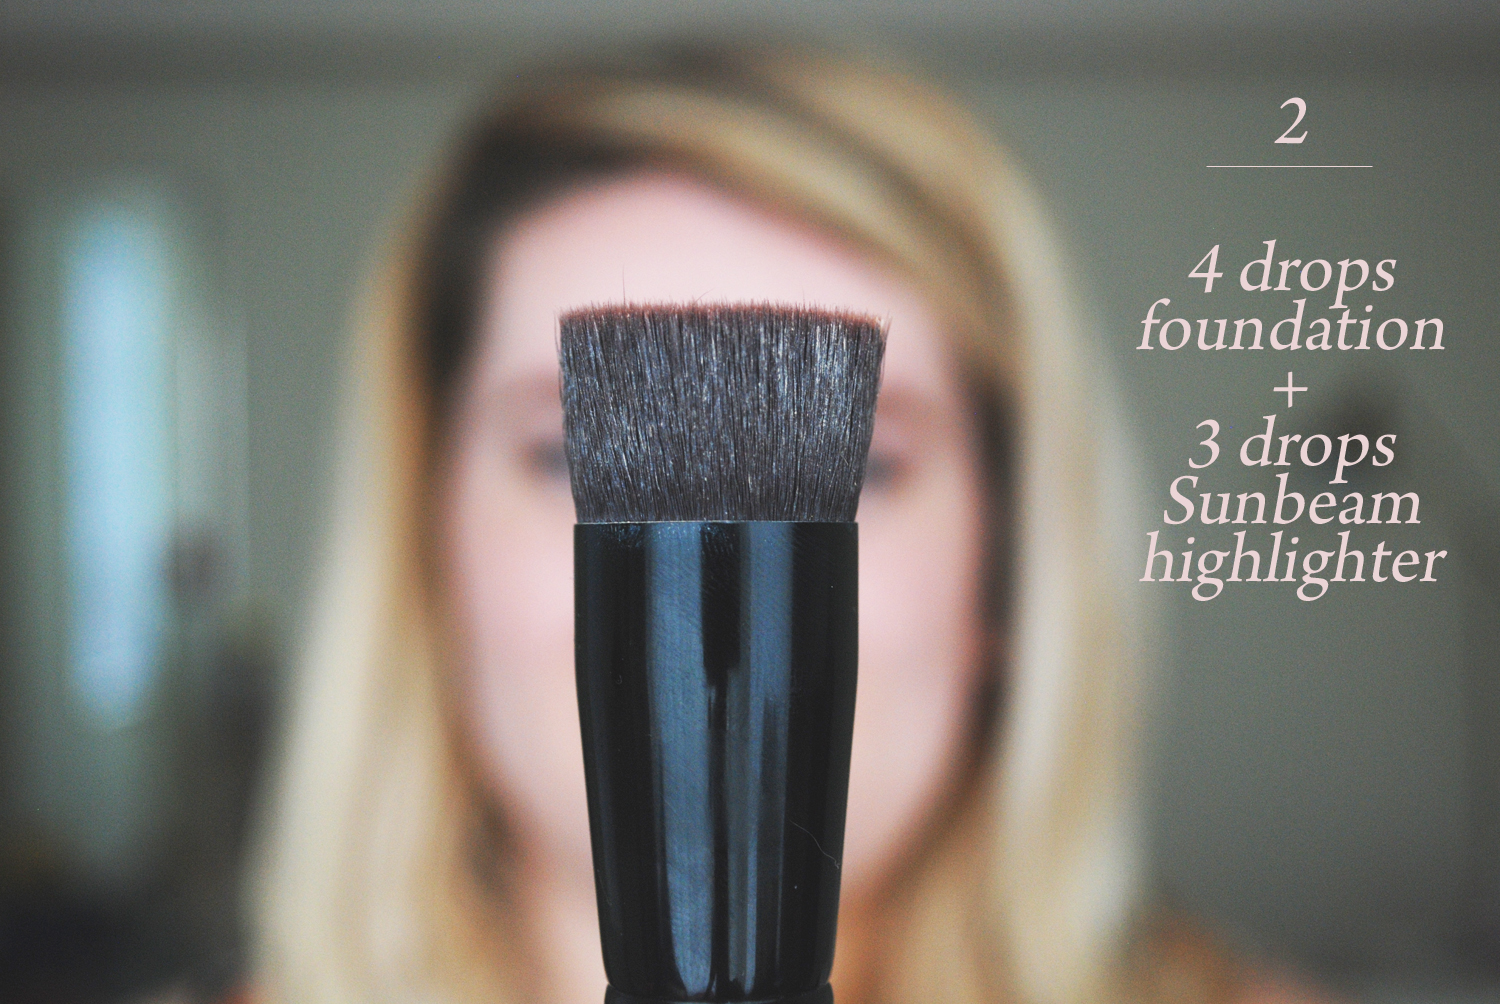
BareMinerals BareSkin Pure Brightening Serum Foundation + Brush: This has become my go-to foundation for glowing, natural-looking skin. It has even replaced my NARS Sheer Glow as my every day foundation! Also, the brush is key to buffing the product flawlessly into the skin.
Essie ‘Wicked’ + ‘No More Film’: Essie ‘Wicked’ has been my favorite nail color for quite some time. Even though the color is a sinister, creamy red, I wear it year round. A newer Essie favorite is ‘No More Film,’ a seductively deep violet-blue.
Fresh Sugar Rose Lip Balm: A staple in my purse (and desk, and makeup bag…), I apply this lip balm daily. It has a pleasant lemon-y herbal scent and leaves the prettiest your-lips-but-better flush. The formula is emollient and isn’t sticky in the slightest.
Hourglass Ambient Lighting Powder in Dim Light: What can I say about this powder? It’s amazing. Undetectable on the skin, it airbrushes out all imperfections without a trace cakey-ness. I can’t seem to go a day without wearing it.
Urban Decay Perversion Volumizing Mascara: While not usually a fan of mascaras with thick brushes that pick up tons of product, I will make an exception for this exceptional mascara. I’m still fully loyal to my old faves (Benefit They’re Real! and L’Oreal Voluminous), but I find myself reaching for this mascara almost daily. It makes my lashes so thick and so black and so.luscious.
Real Techniques Expert Face Brush: I had previously been using this brush for my foundation (which is its primary usage and it works flawlessly), but lately I’ve been using it to chisel out some cheekbones while contouring. It provides the accuracy and precision that a fluffy powder brush cannot.
Tarte Natural Cheek Stain in Blissful: I wear this blush almost every.single.day and I’m still on my very first tube I bought over 2 years ago. The shade ‘Blissful’ (a sheer peach) provides the most natural lit-from-within flush. I cannot say enough good things about this cheek stain.
What are some of your all-time favorite beauty buys? I’d love to know, so leave me a comment below!
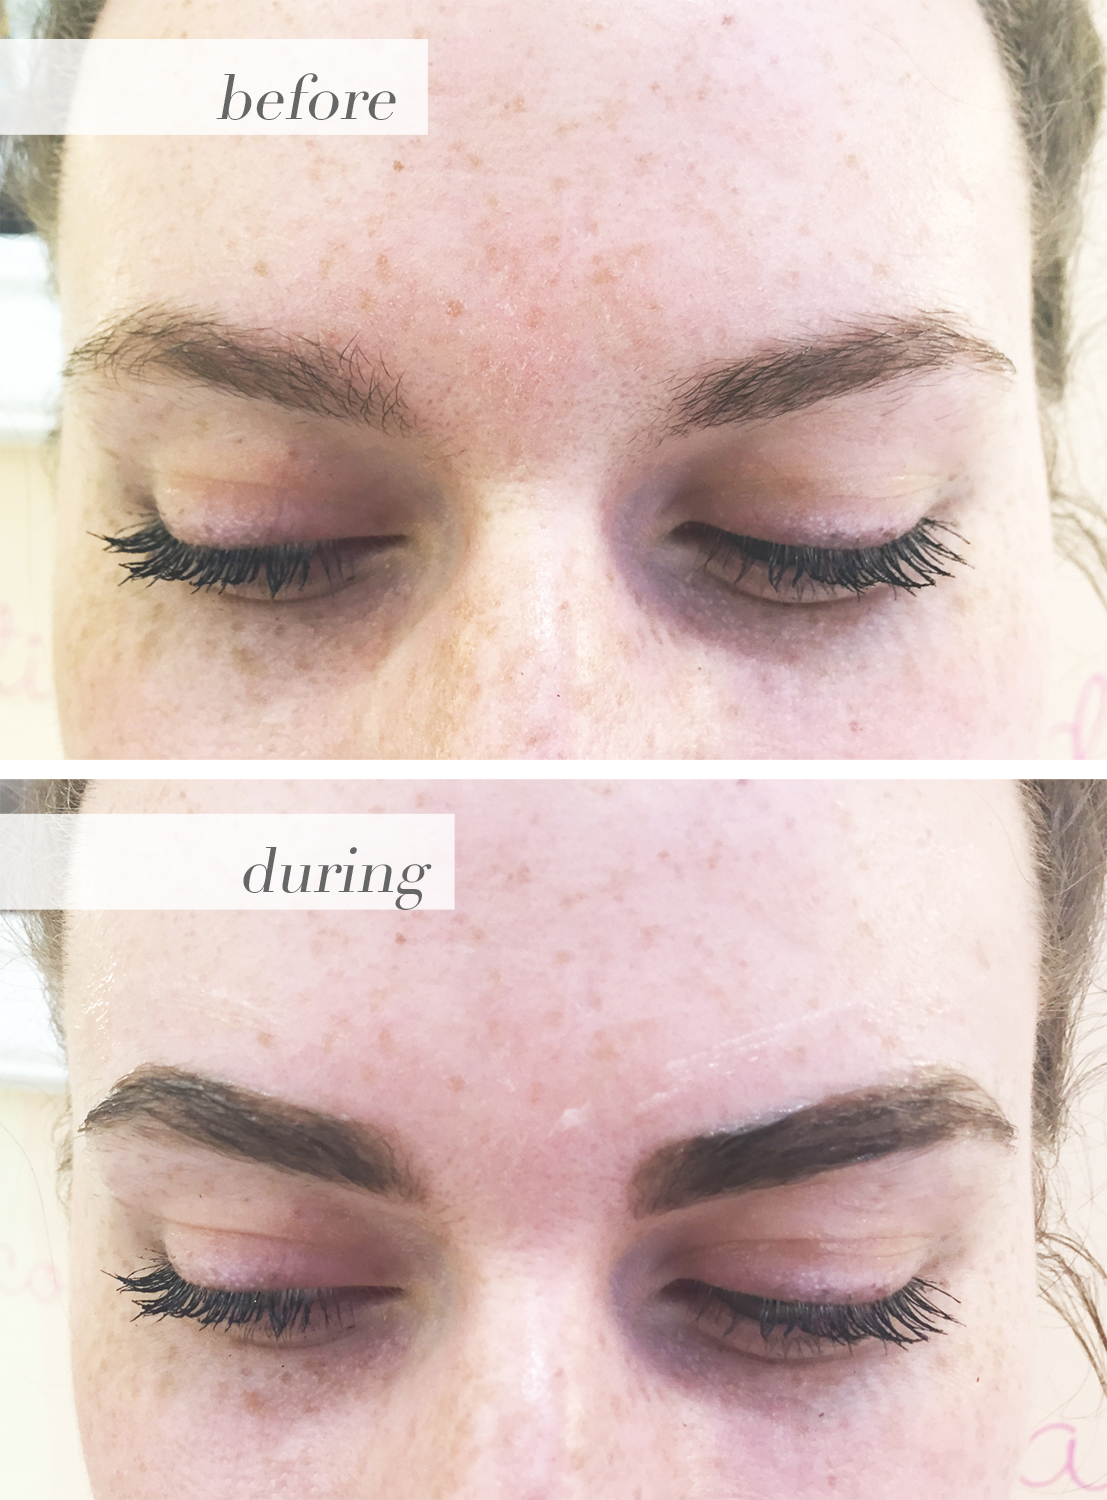
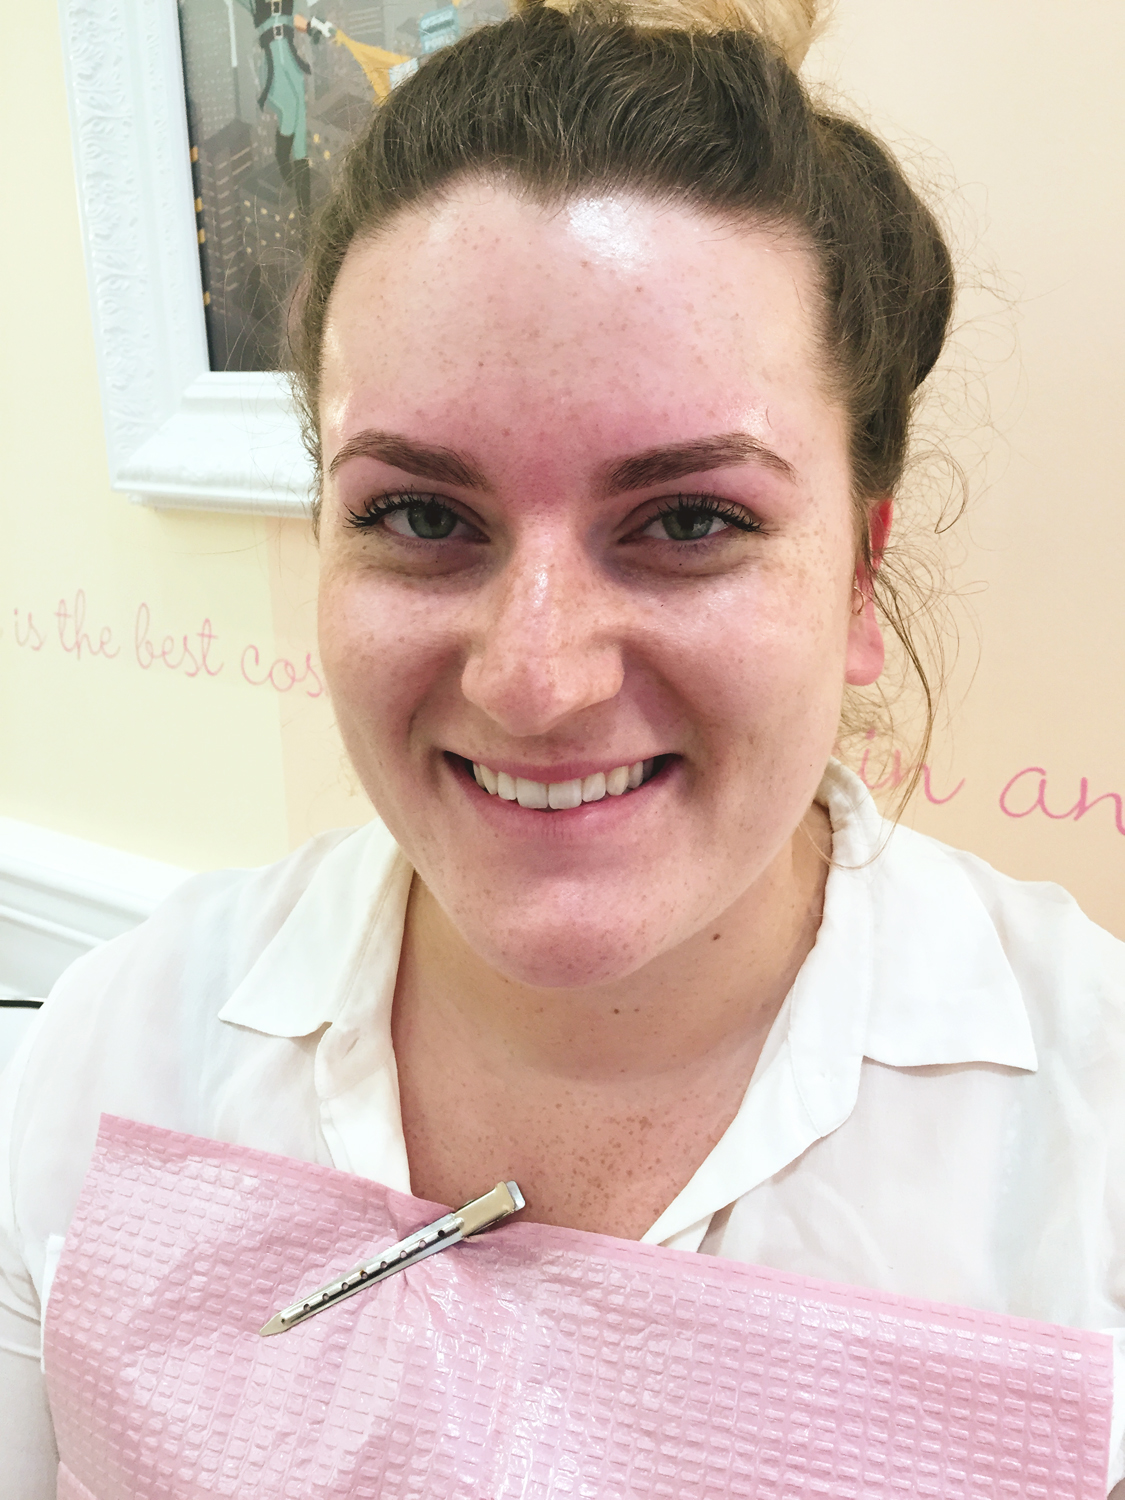
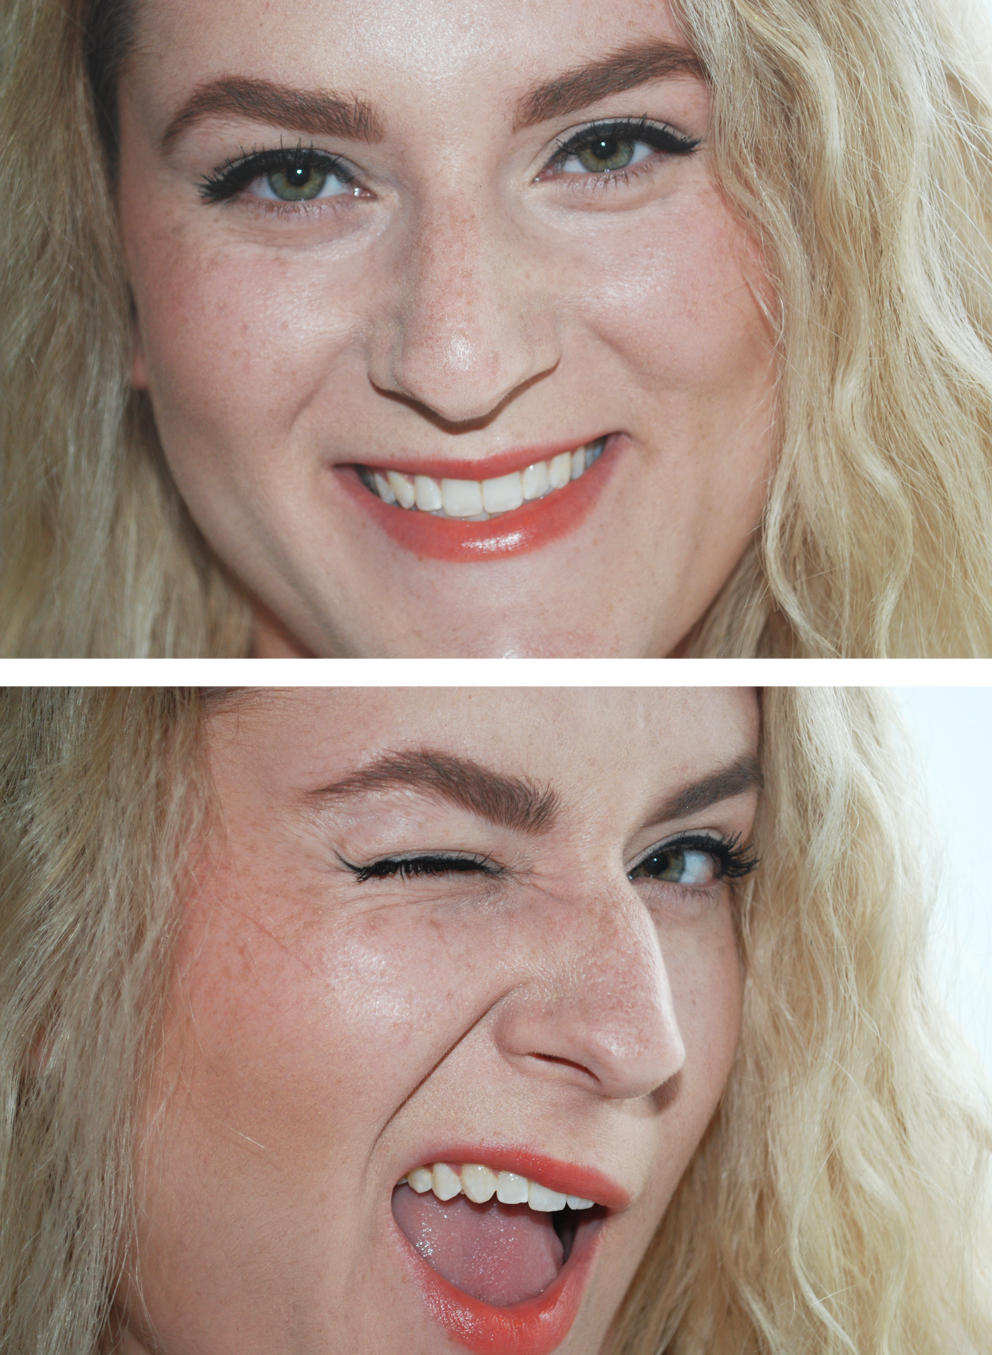
As you already know, I’m a huge fan of the Benefit Brow Bar and fully confident in their abilities to magically transform a pair of unruly eyebrows. Intrigued by their brow tinting services (something I’ve never tried before), I decided to give it a whirl. I wanted to see what brow tinting would do for me; I already fill in my eyebrows daily anyway, so this wasn’t a huge leap for me. Since I’m a fan of bold brows, I requested that my brows be as dark as the darkest hair on my head (always a good rule to follow!).
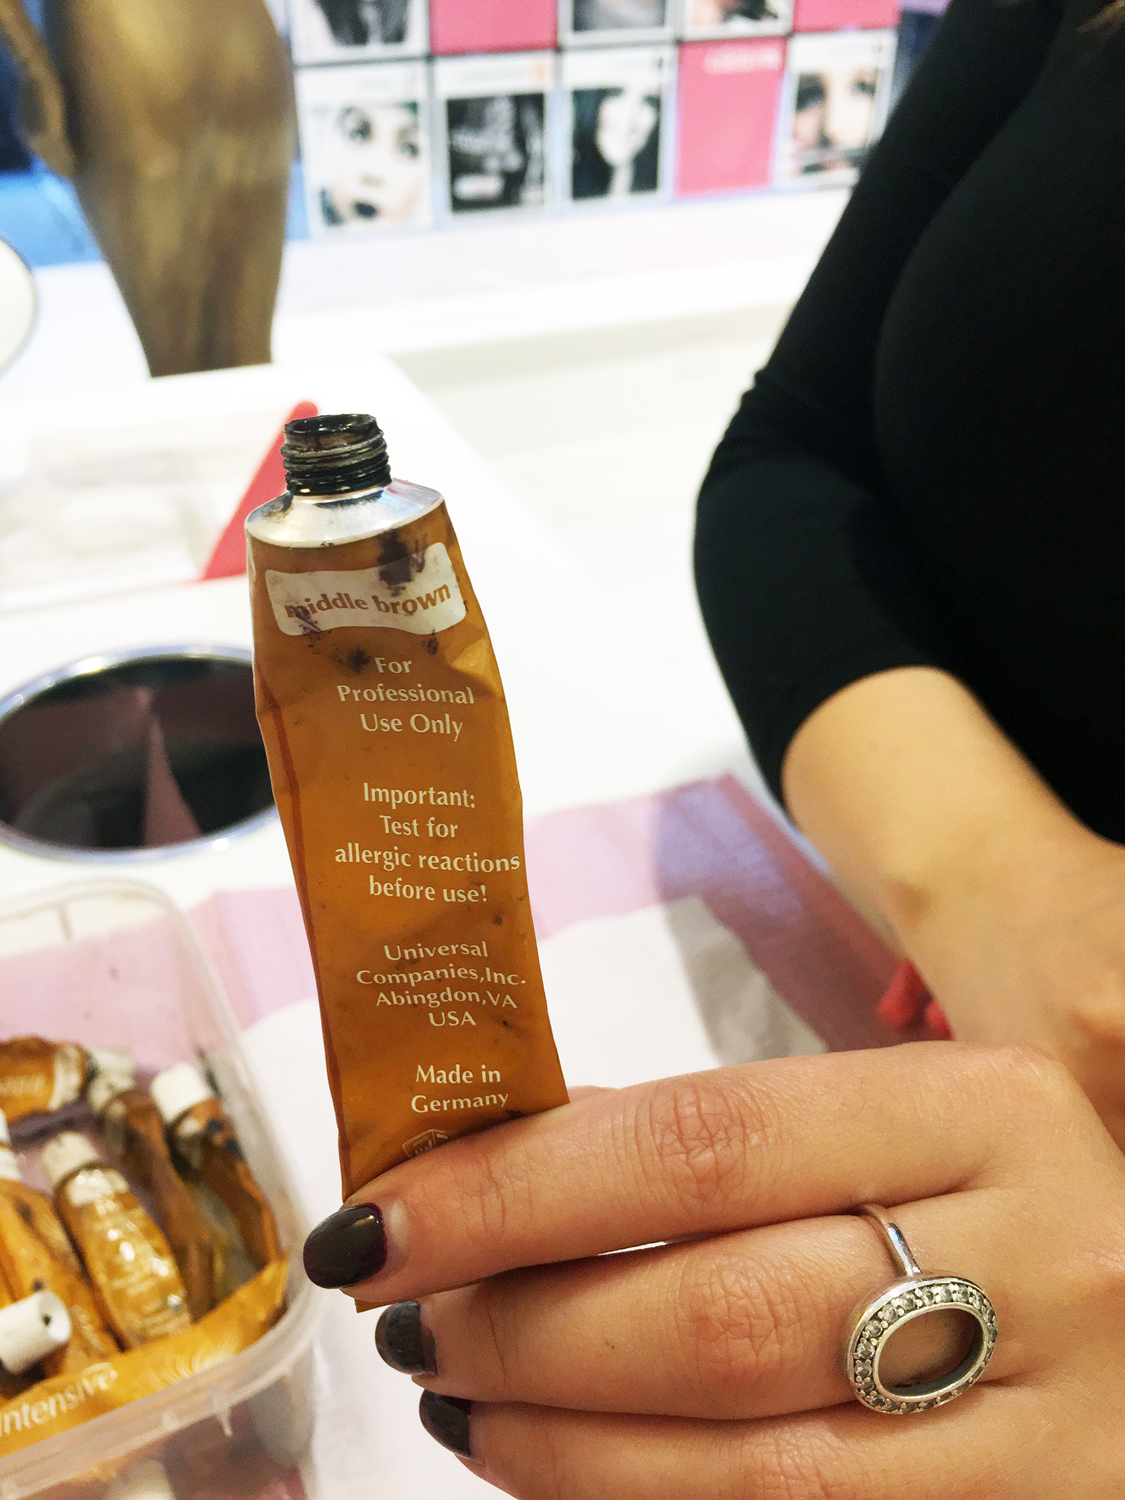
As you can see from the first photo, I was in desperate need of a wax and reshaping. The esthetician (the amazing Marianne!) first applied Vaseline around my brows to prevent the dye from staining my skin. She then applied the tint and let process and oxidize for 10 minutes.
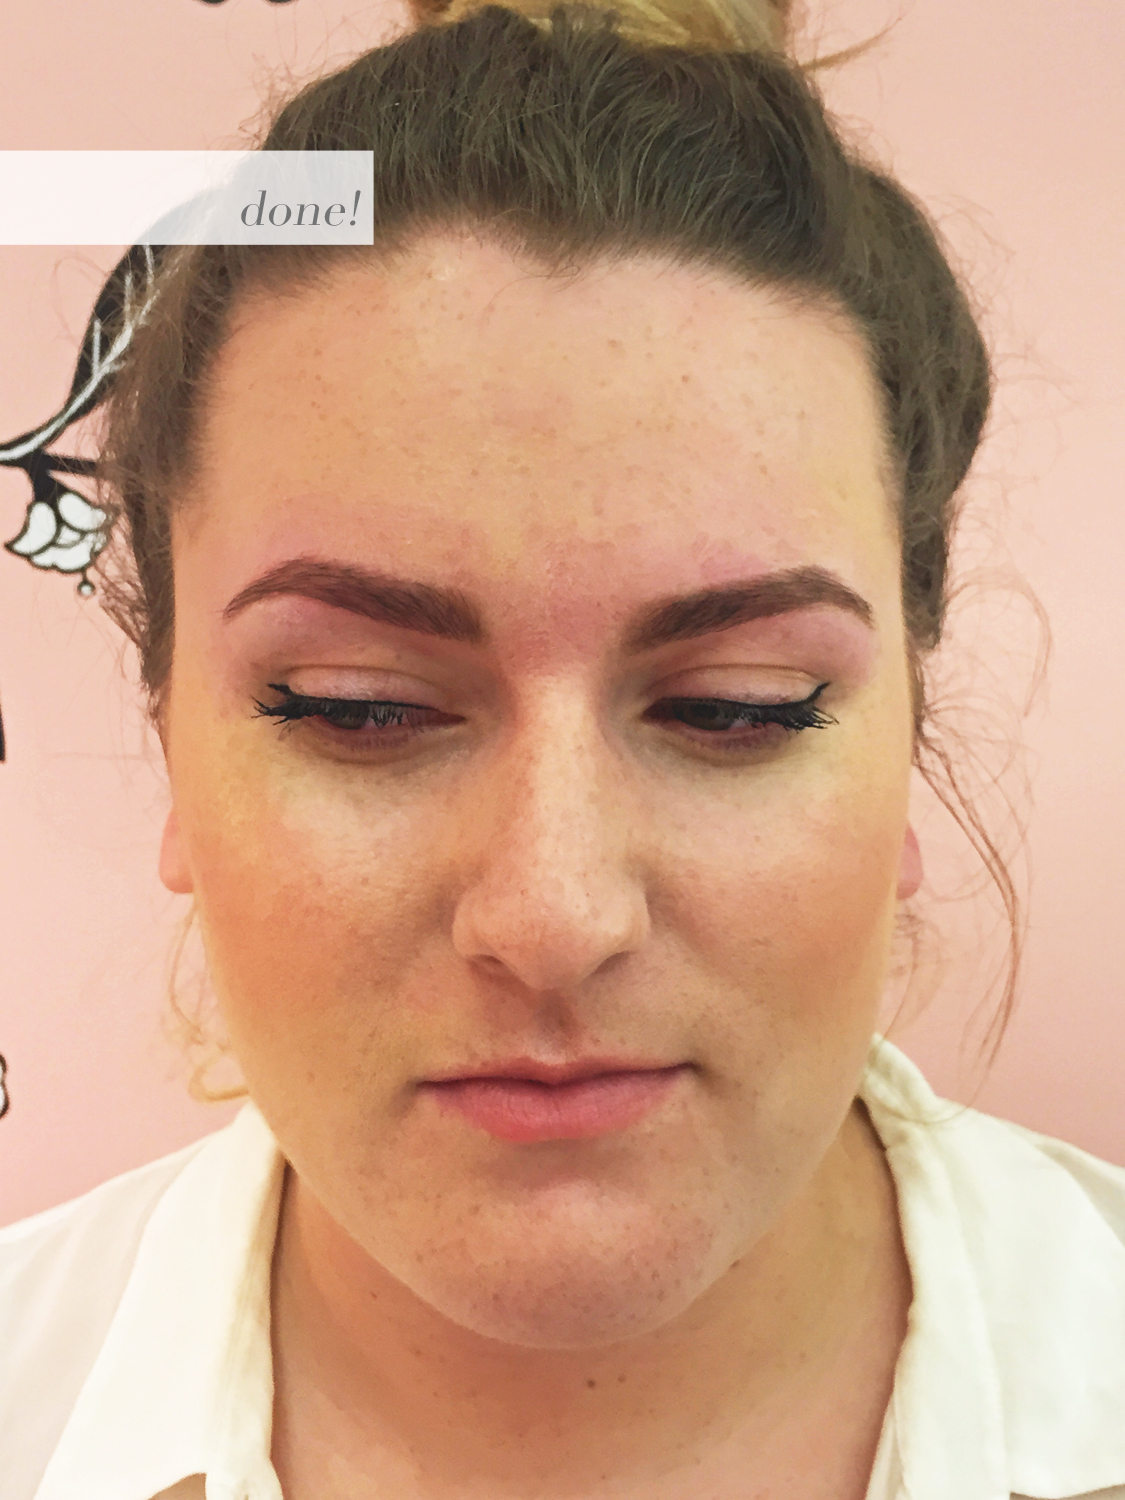
She chose a medium brown shade for my brows, which turned out to be the perfect color!
After the dye had processed, she wiped it off and let me take a look at the tint for myself. I was so impressed that it managed to darken the baby hairs and peach fuzz so my eyebrows looked fuller and the hair appeared to be more dense.
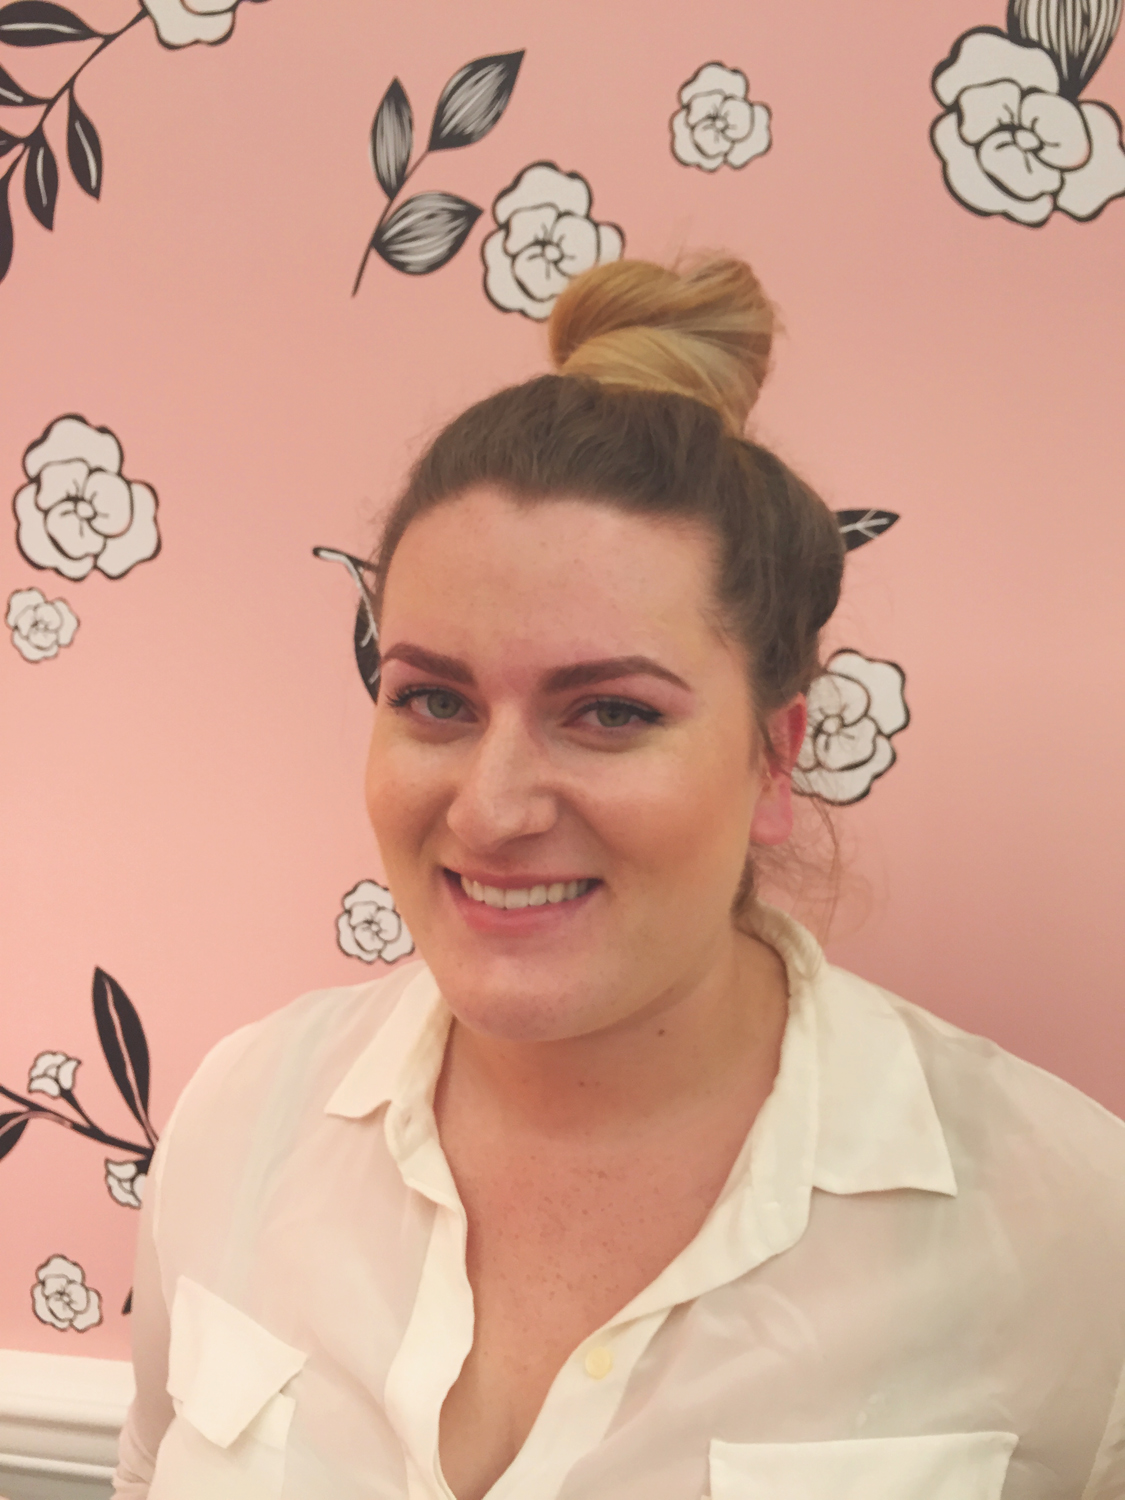
I was so happy with my results! I will definitely be tinting my brows regularly from now on. :)
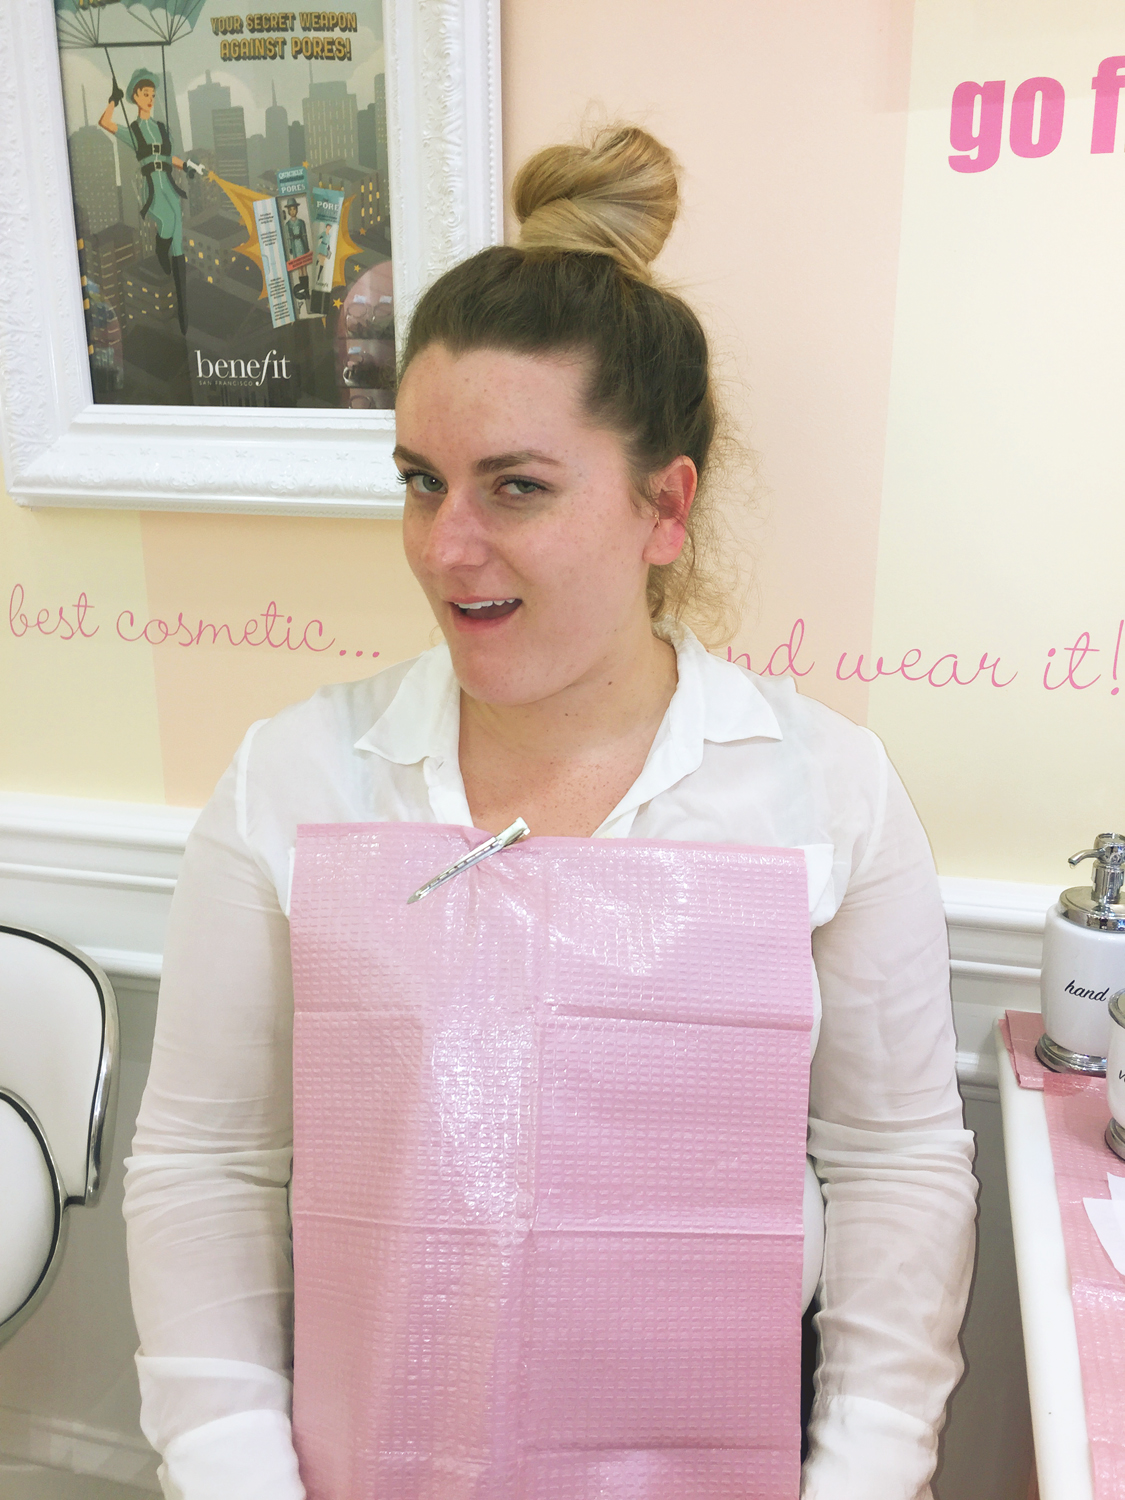
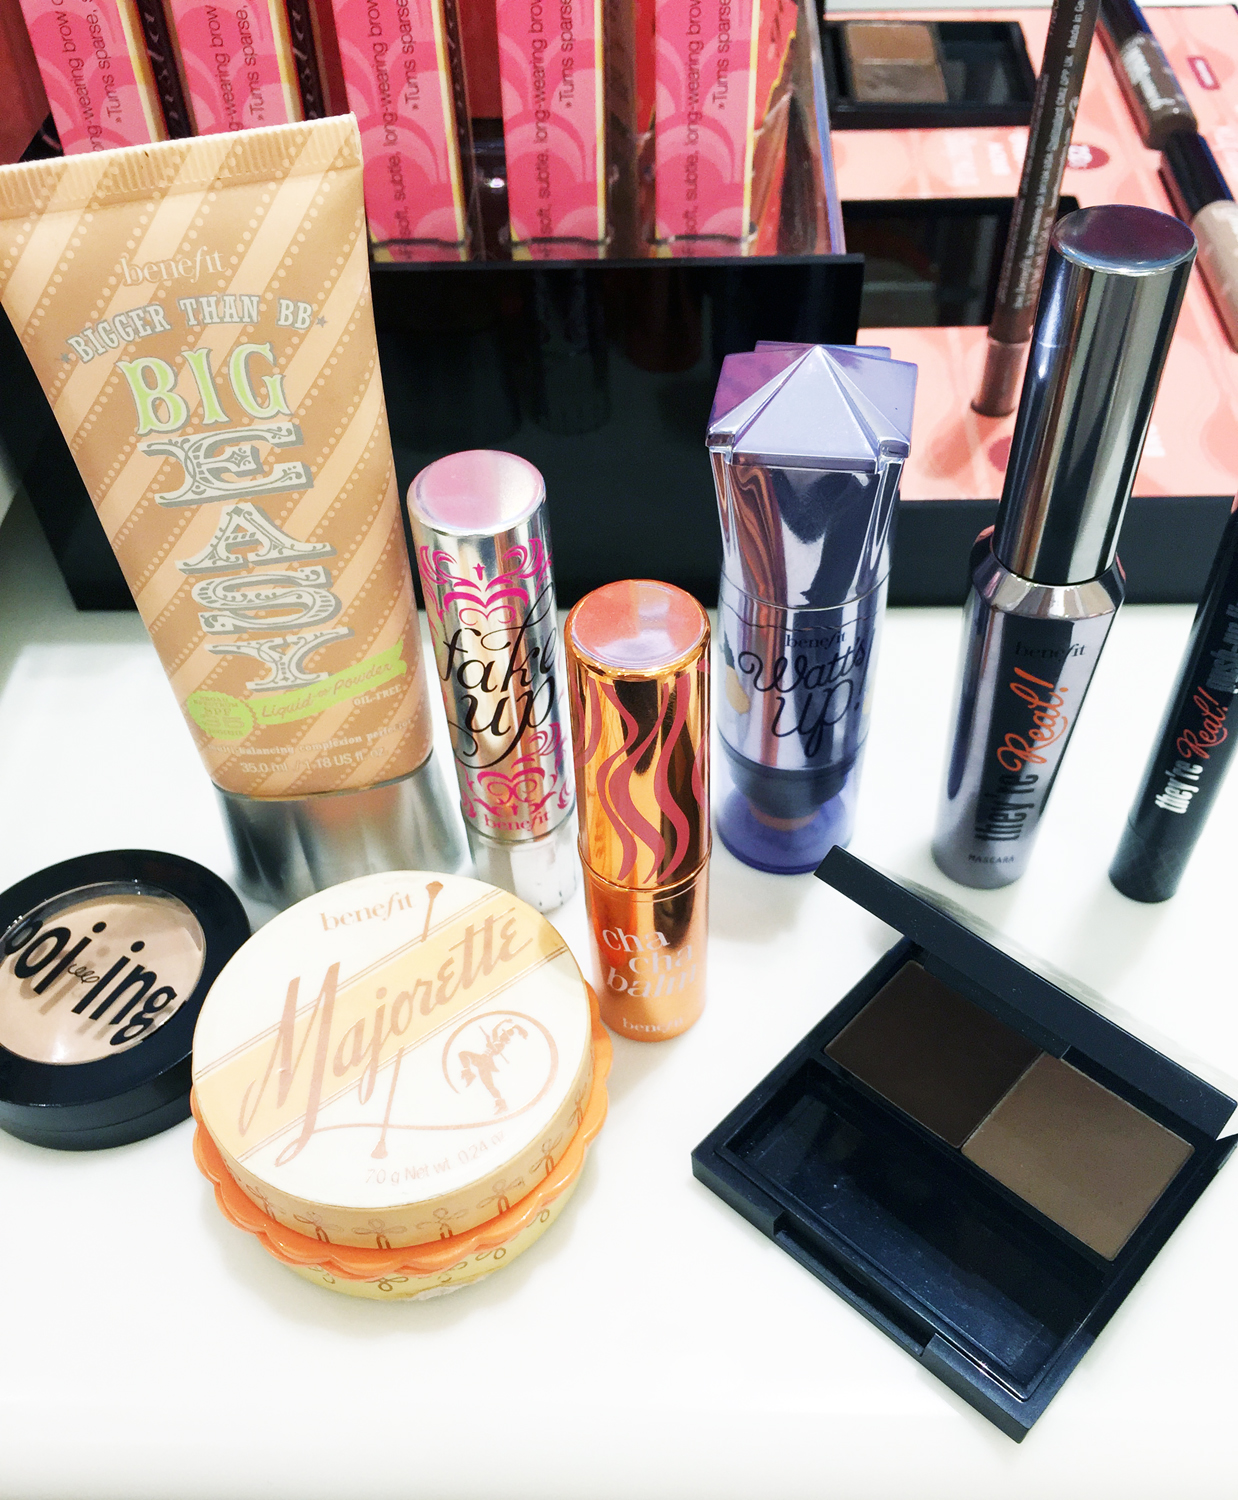
I also got a little touch-up by another fabulous makeup artist at the boutique. Since I’m always keeping up on the latest Benefit products, I was excited to try their Majorette cream blush. It’s a gorgeous coral shade that can be worn alone or underneath something else. So lovely!
Still a little red from the wax, but my eyebrow game is looking ON POINT thanks to the wonderful Benefit gals!
What do you think? Would you try out brow tinting? I give it 5 out of 5 stars and will definitely be back in 4 weeks for my next appointment! A huge thank you to all the lovely Benefit gals at the Sutter boutique in SF!
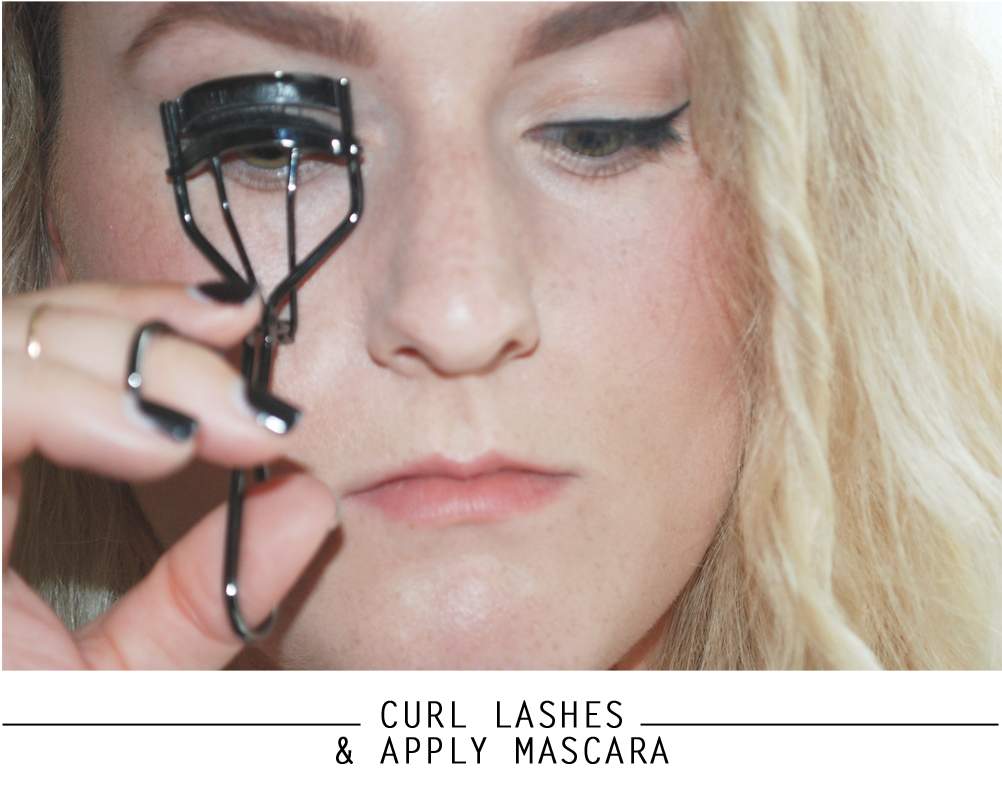
Hey gals! Here’s a really simple trick to a flawless mascara application. Instead of looking directly into a mirror at eye level, try this instead: hold a hand mirror underneath your chin and look down into it. This trick allows you to get mascara deep into the roots of your eyelashes without smearing it all over your eyelids. It also helps to fan out your lashes and hold the curl better. Try this trick and let me know what you think!
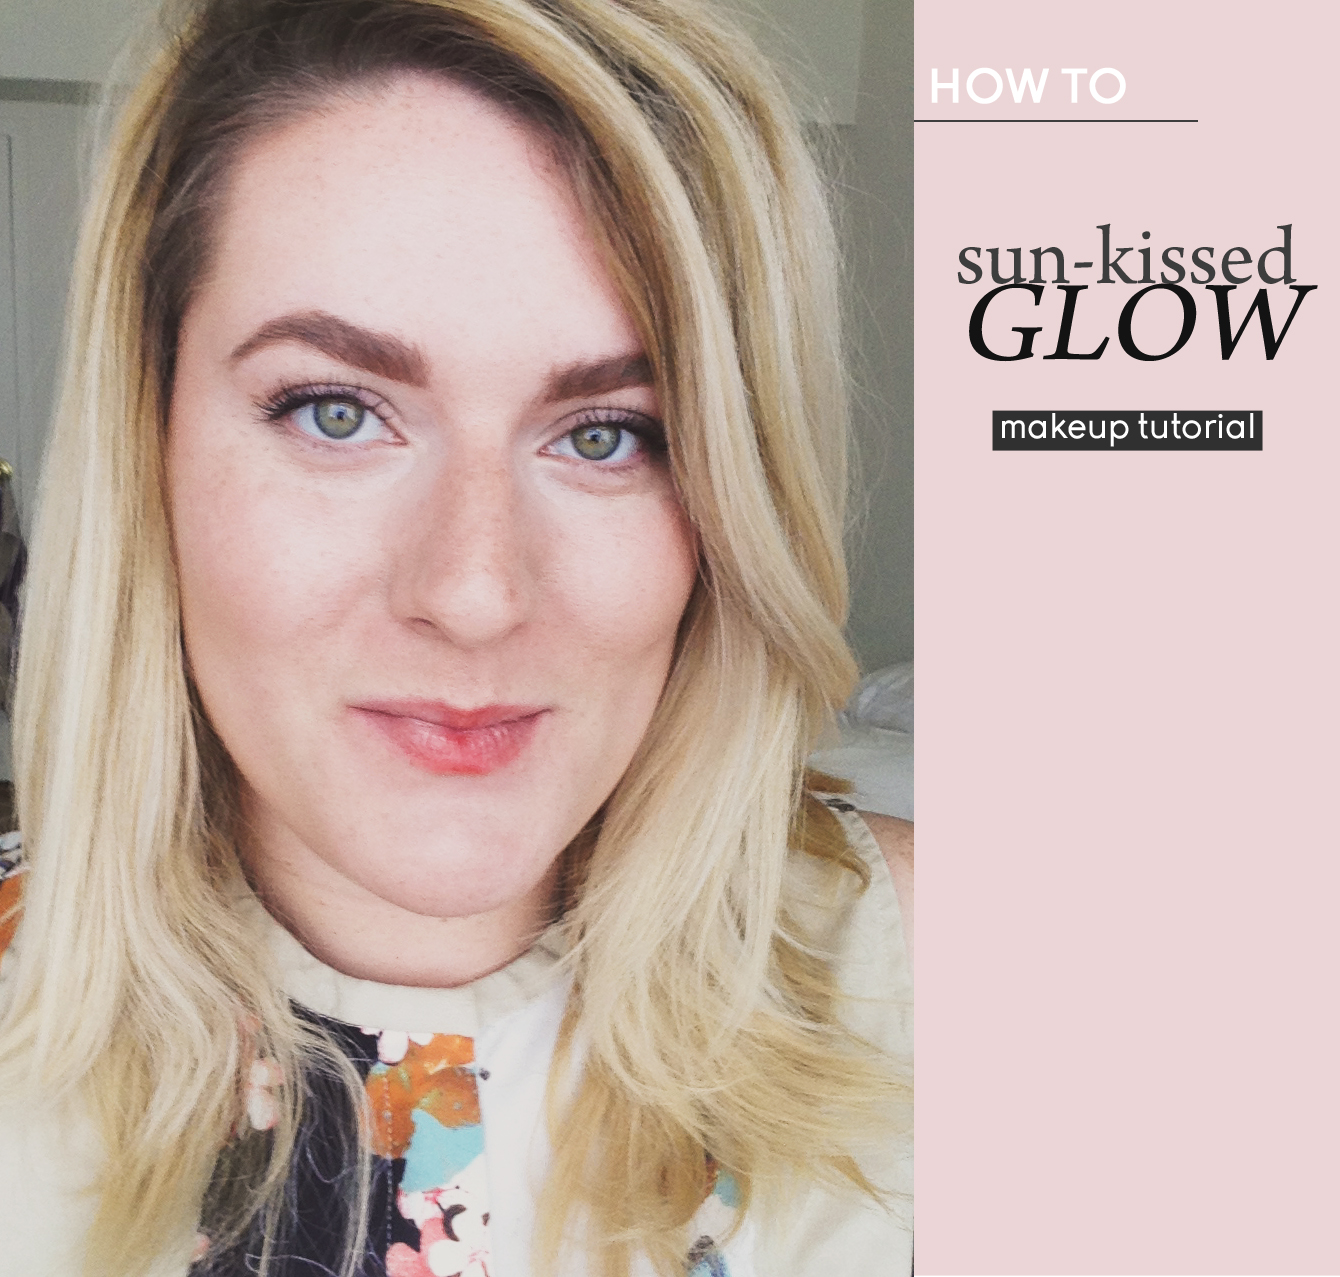
Summer weather thus far in San Francisco has been quite a disappointment. When I moved to California I thought I’d turn into a bronzed goddess (even with daily sunscreen, obviously). Every day so far this summer it has been cloudy/foggy and chilly – today was only 62º! I have an upcoming visit to Maine and I’m actually looking forward to some beach weather! So even though I don’t get my daily dose of vitamin D, I can (and you can, too!) still fake that summer glow with this easy and pretty sun-kissed glow makeup tutorial. ;)
Swirl the brush on your cheek to mix the foundation and highlighter together.
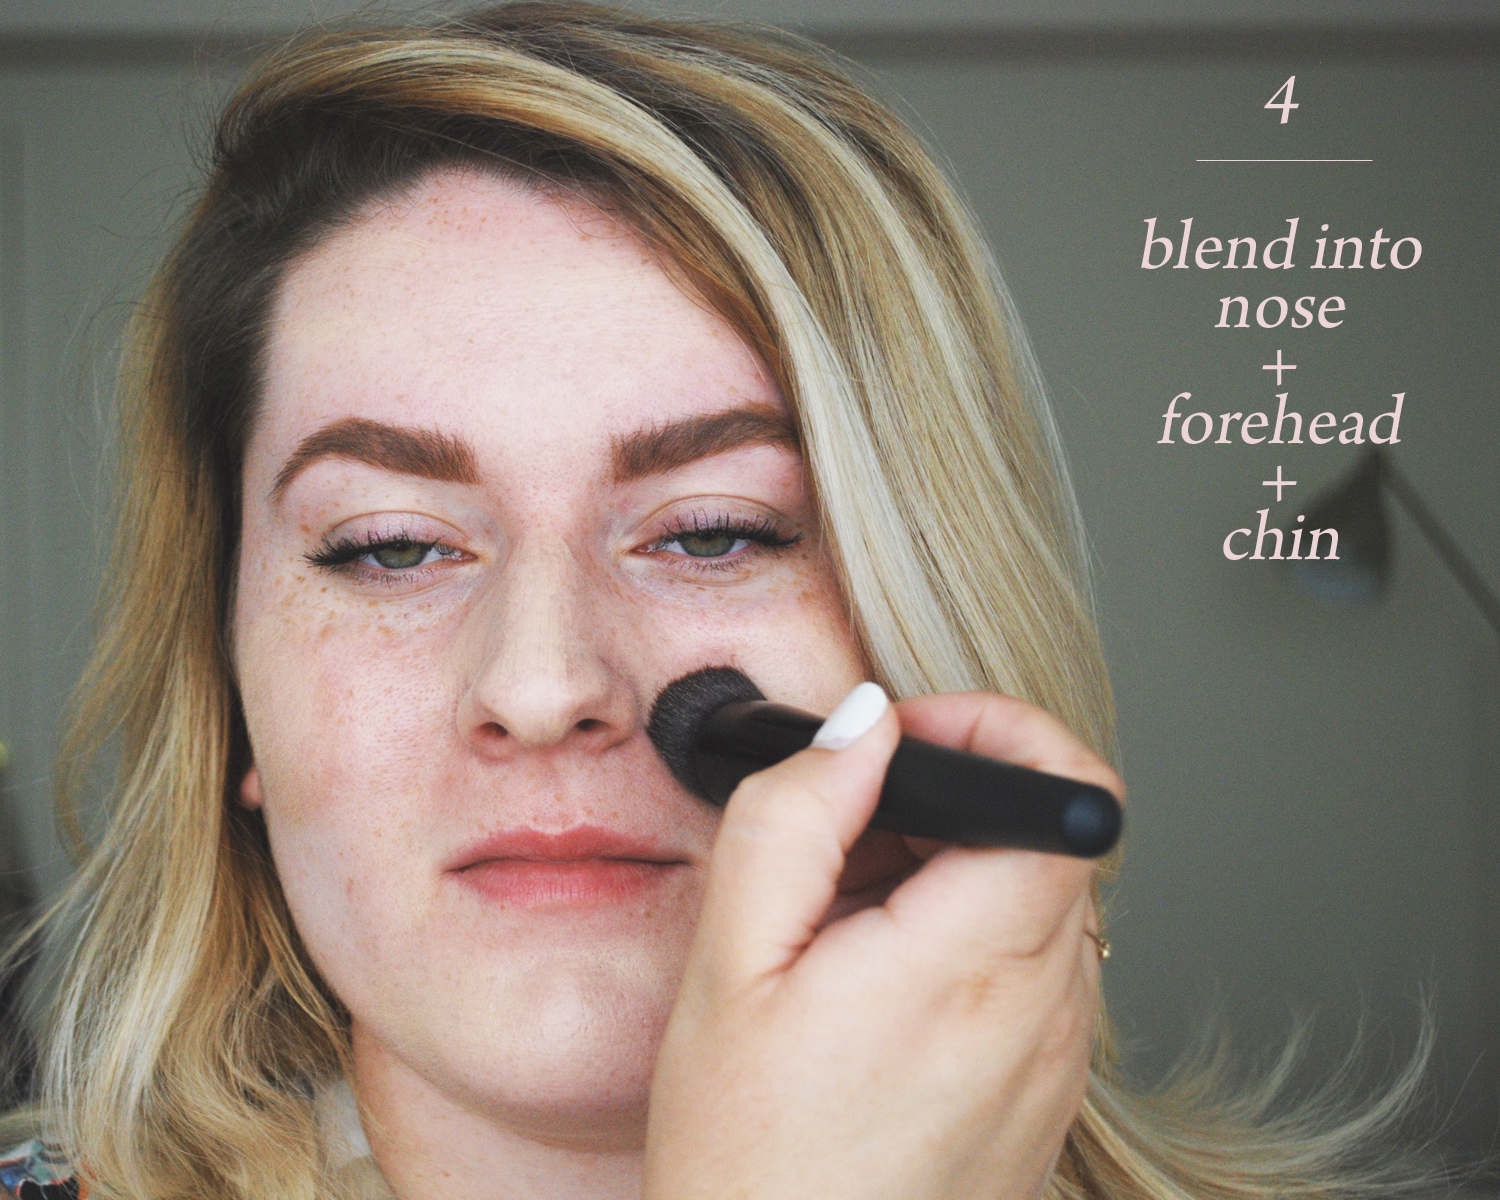
Blend the mixture into cheeks, nose, forehead, and chin. Make sure to blend under your jawline and down your neck as well.
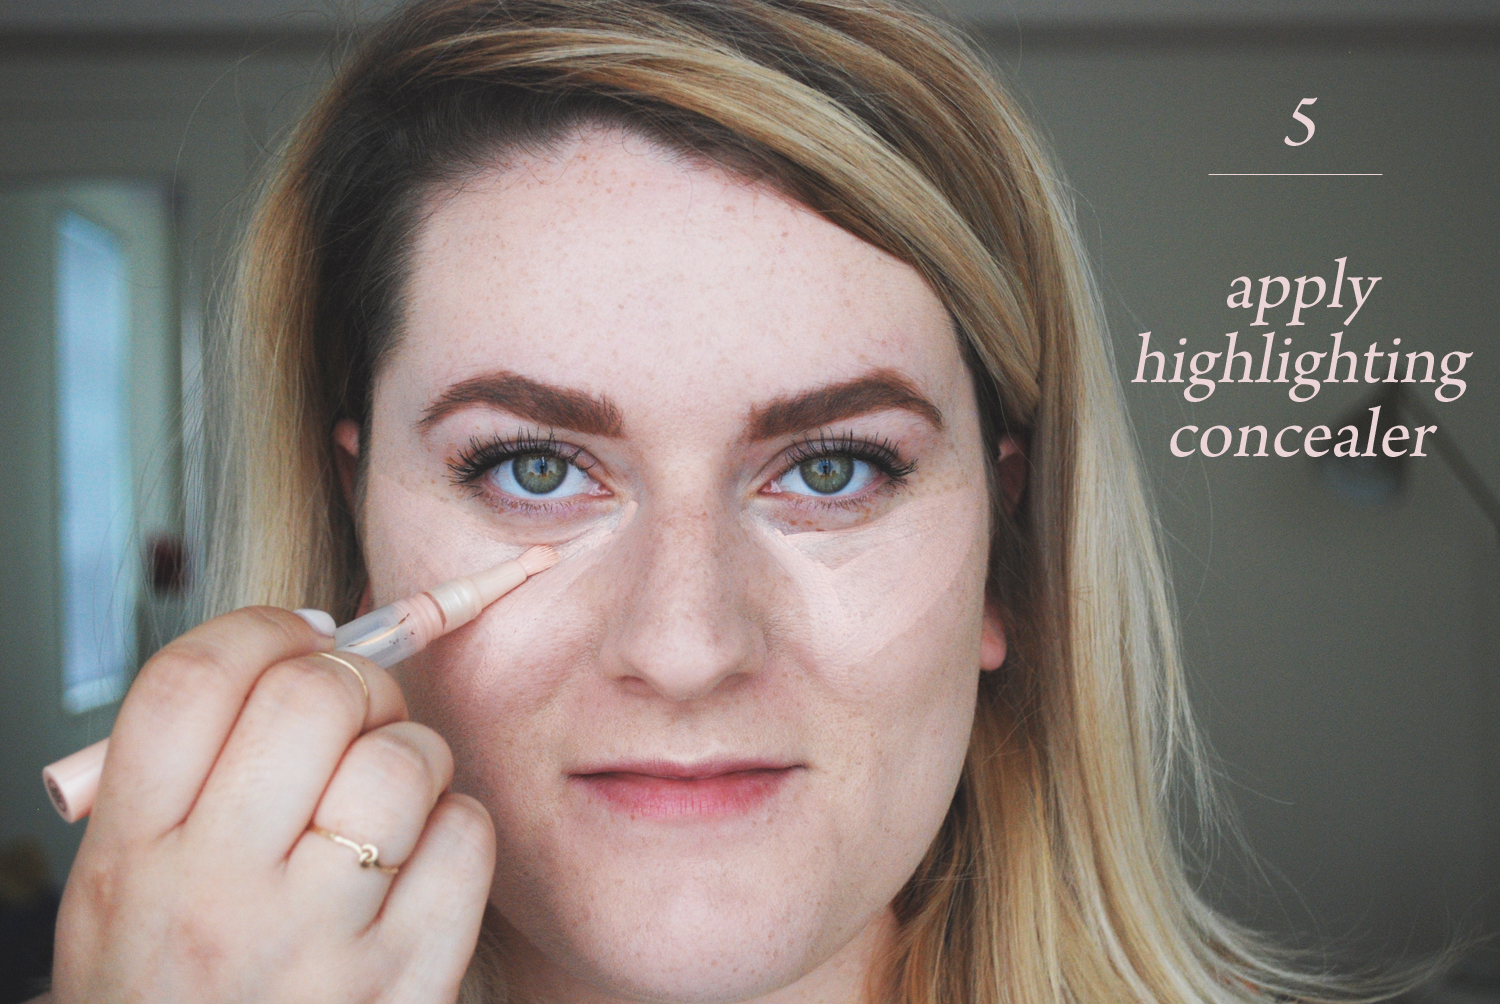
Apply highlighting concealer underneath eyes in a triangle shape, bringing the concealer onto the tops of your cheekbones. Blend well with your ring finger, making sure to blend into the inner corners of your eyes and eyelids.
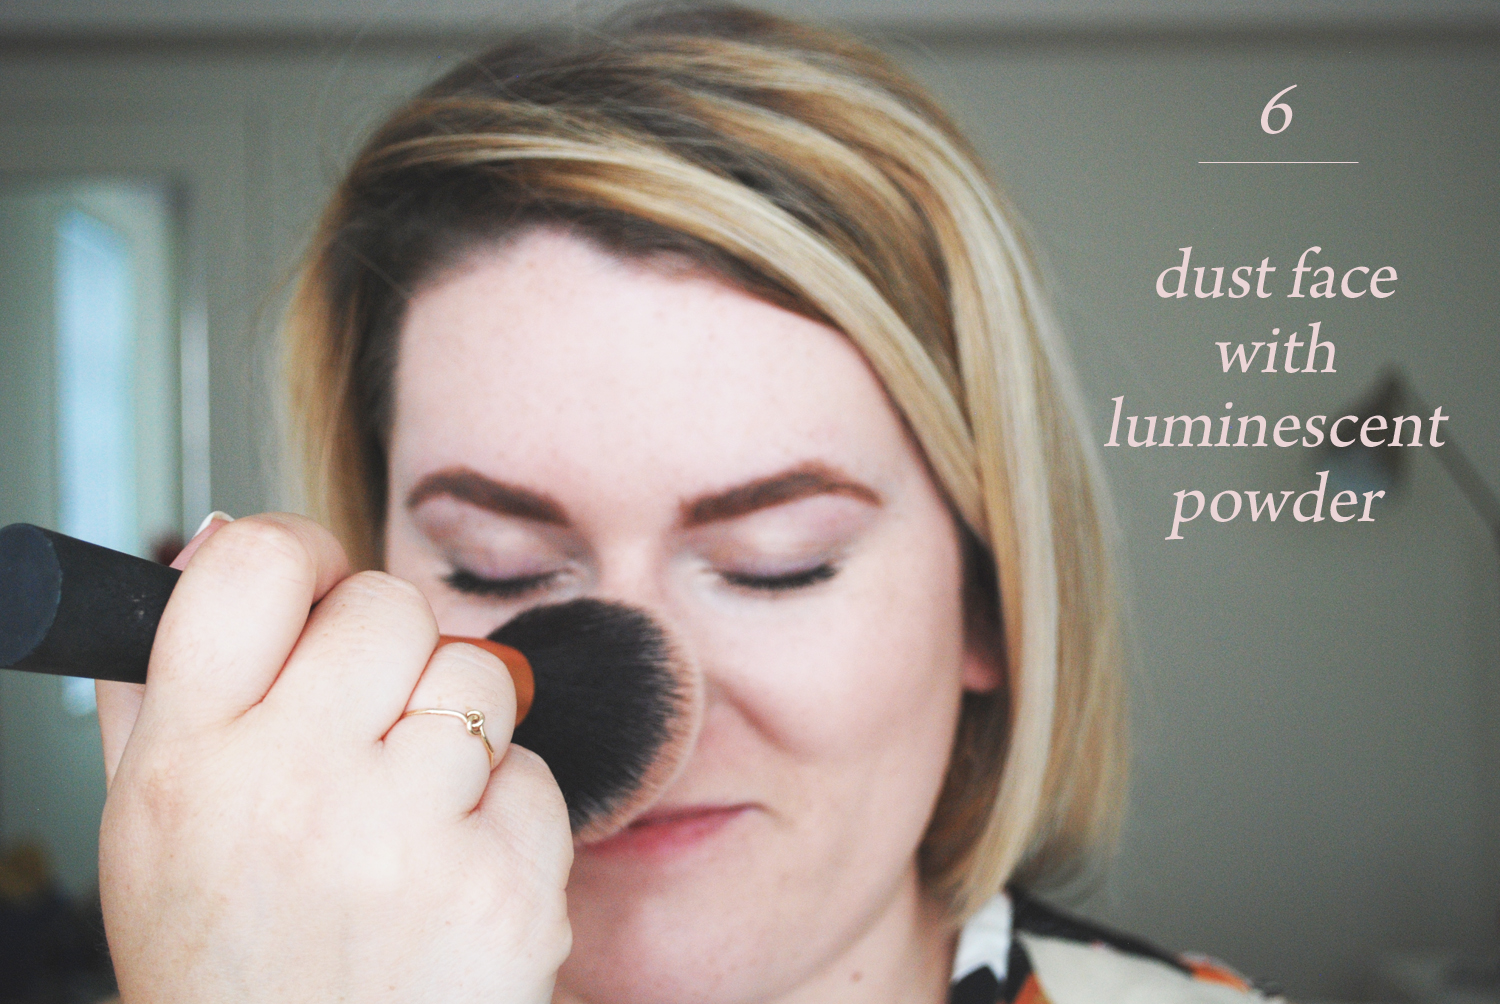
Using a large, fluffy brush, dust a luminescent powder onto your skin. My all-time favorite is Hourglass Ambient Lighting Powder in Dim Light. It blurs all imperfections and makes you look like you’re lit from within.
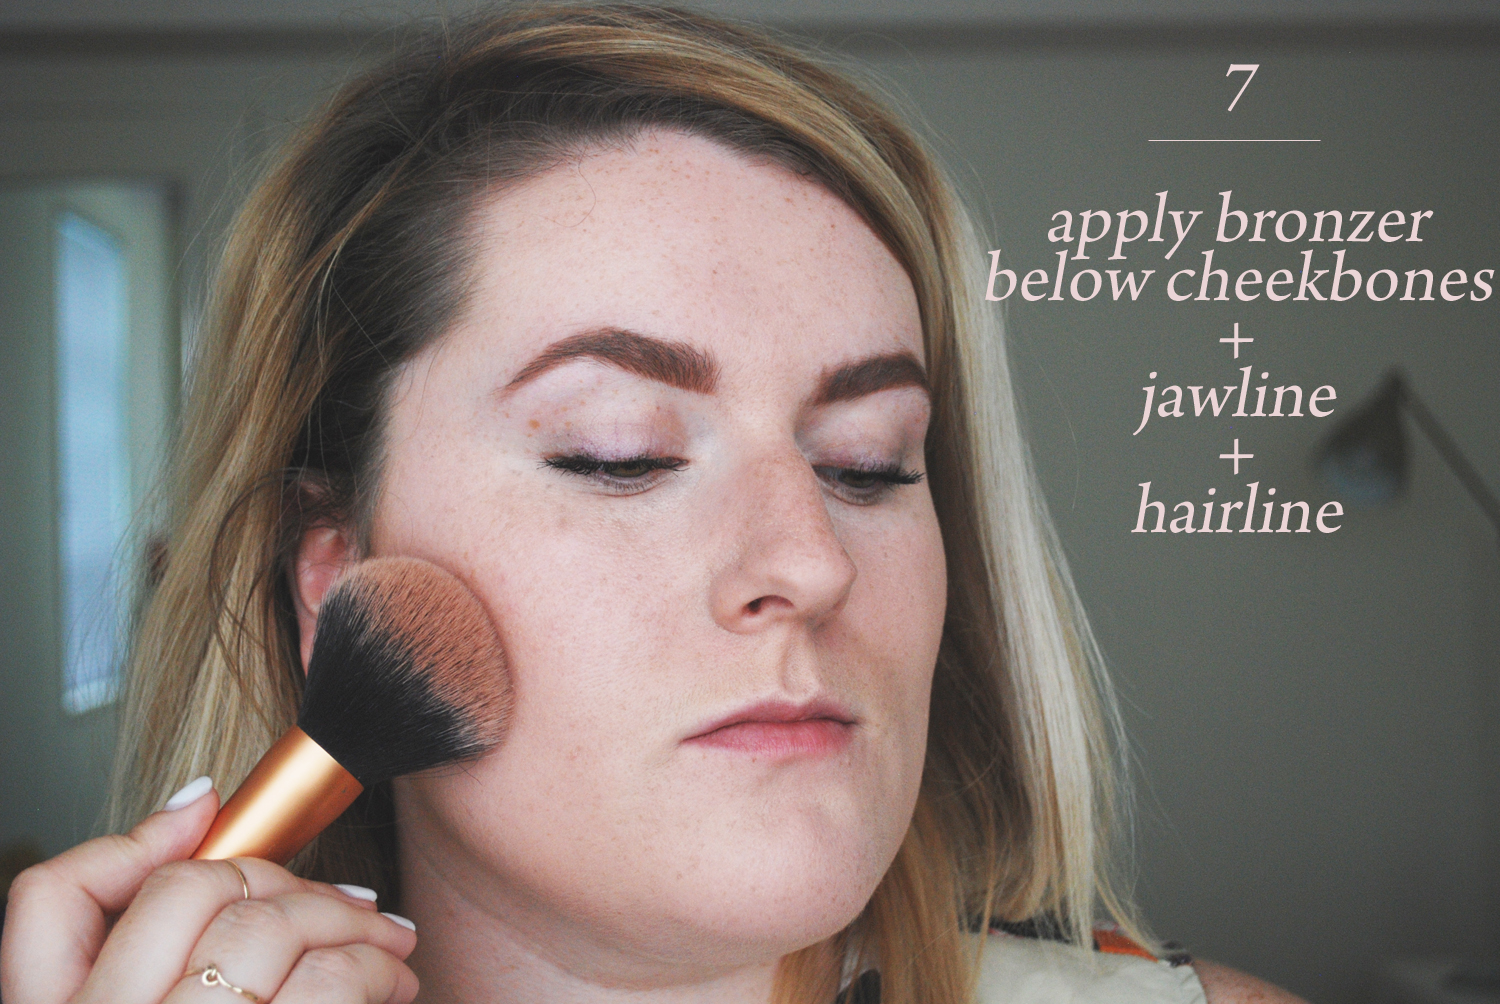
Using the same brush, apply a shimmery bronzer (yep, I like to use shimmery bronzers for a glowy look) in the hollows of your cheeks under your cheekbones, to your temples and hairline, and underneath your jawline. Try to avoid a heavy-handed application – the point of this tutorial is to look naturally sun-kissed! You can even dust a tiny bit on the bridge of your nose and browbones.
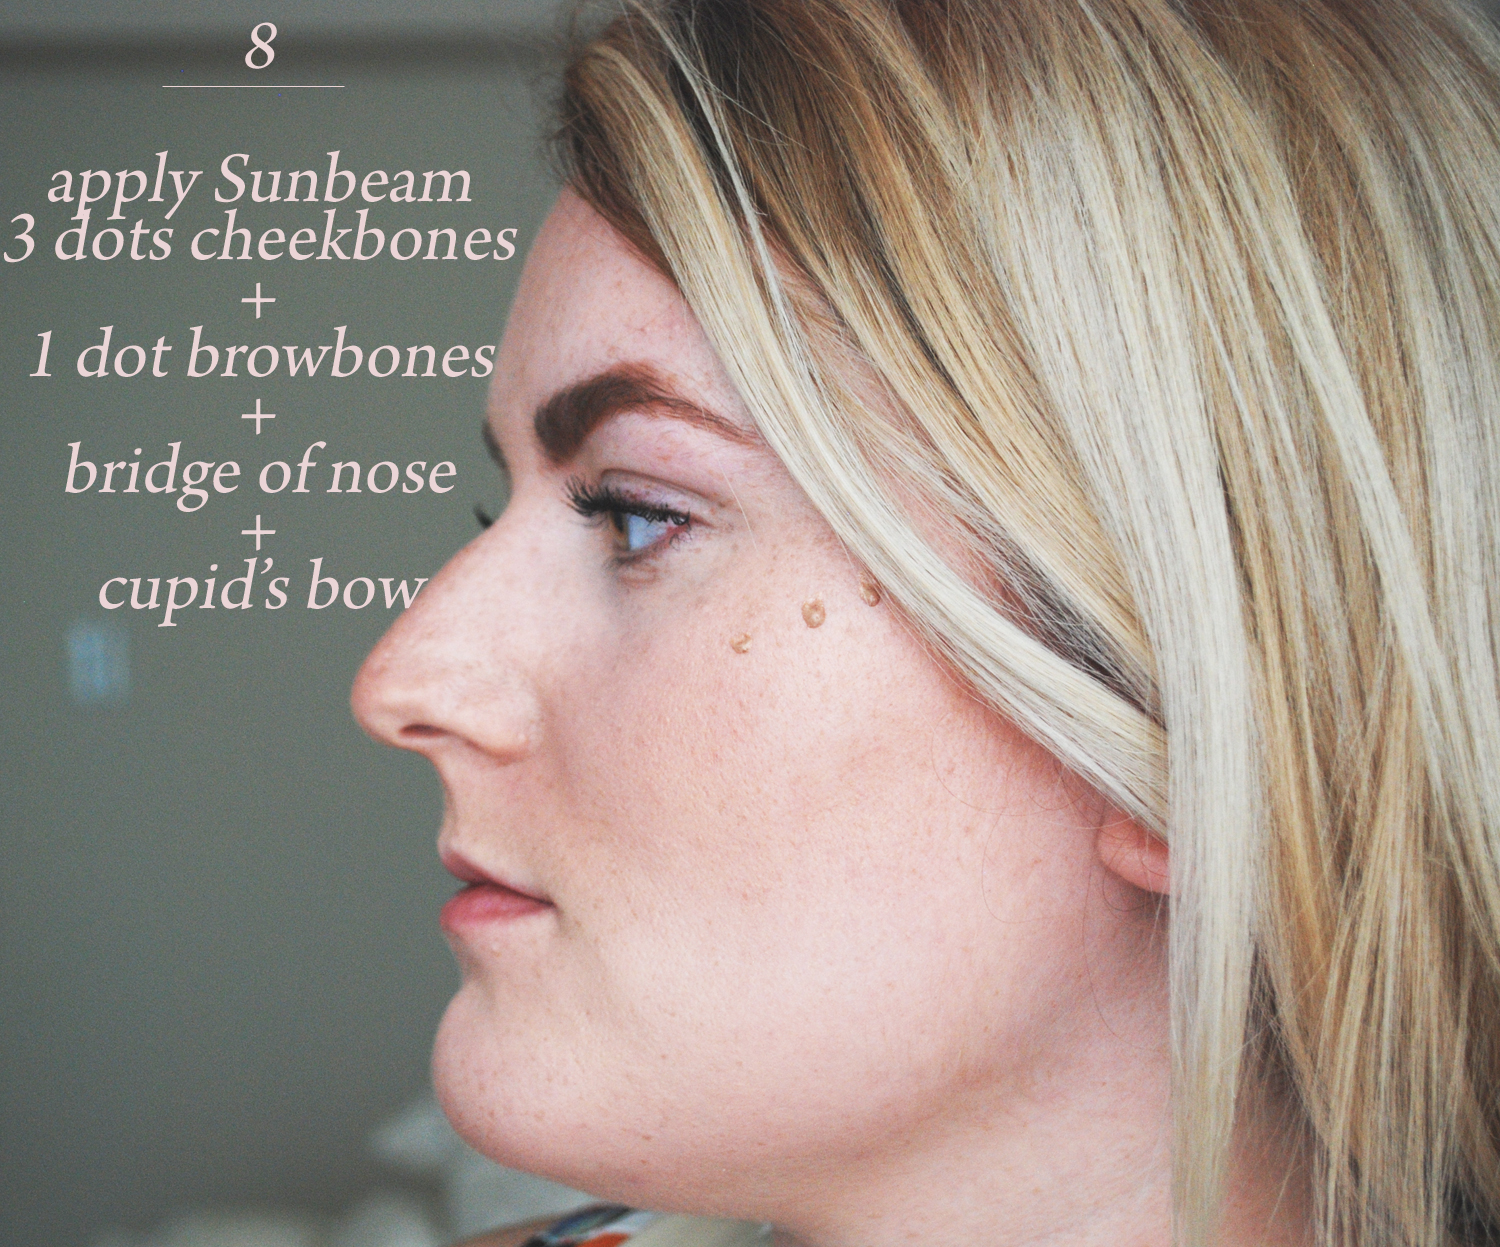
Lastly, place 3 dots of Sun Beam highlighter on your cheekbones, 1 dot on each browbone, down the bridge of your nose, and your cupid’s bow. Blend with your fingers.
By now you’ve probably heard the hype surrounding Benefit They’re Real! Push-Up Liner. Are you gals as obsessed as I am? It’s definitely the best black gel liner I’ve ever used – and the easiest, too! I thought it would make for a great winged eyeliner tutorial. With the flexible, firm tip, those tricky flicks are beyond easy! Here we go!
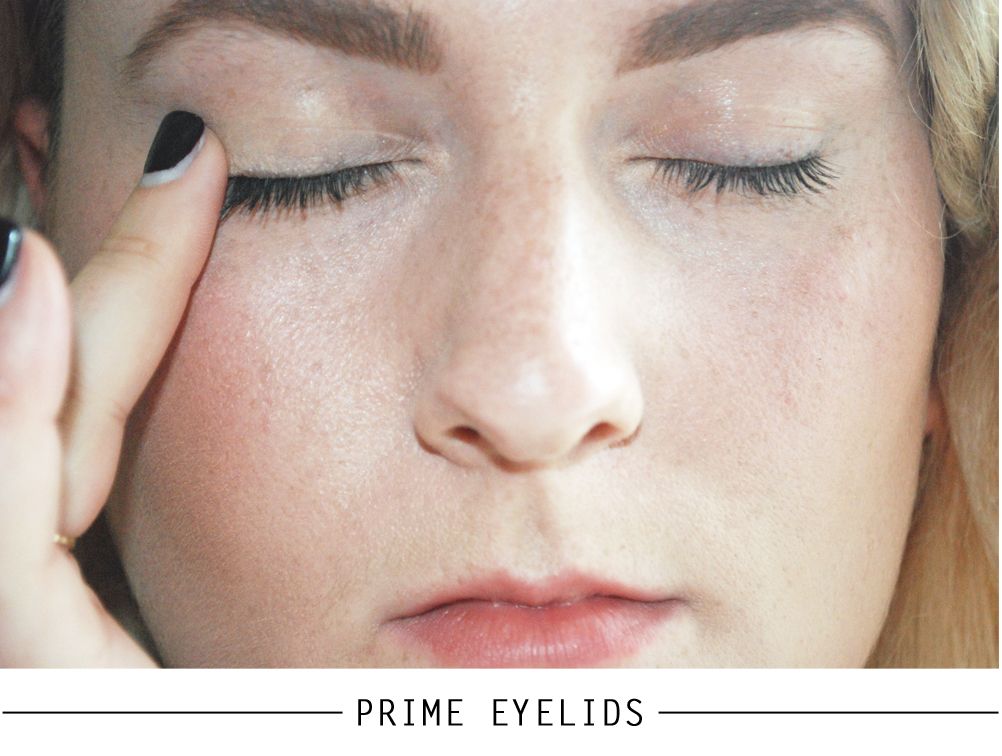
Start by priming your eyelids – gently pat and blend the primer with your ring finger. I like to use Benefit Stay Don’t Stray.
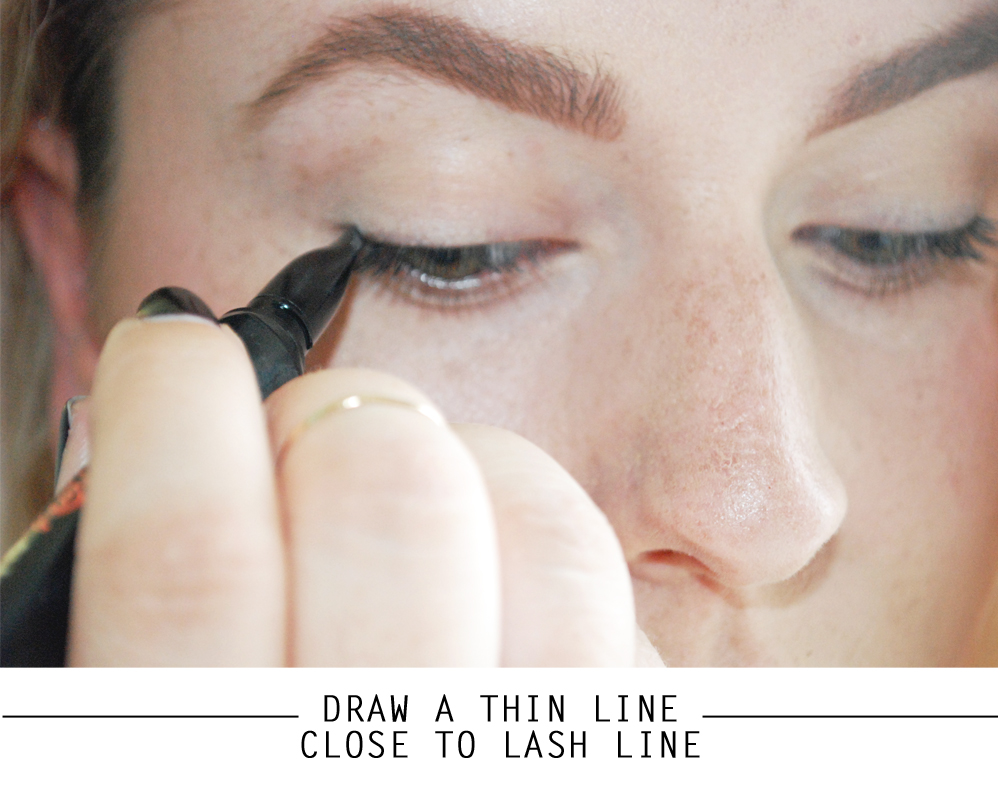
Then, draw a thin line as close to the lash line as possible. The point is to not have any skin showing between your lashes and the liner. I like the start at the outer corner and work my way in. It might help to make small dashes or press the liner into your lashes instead of dragging it along.
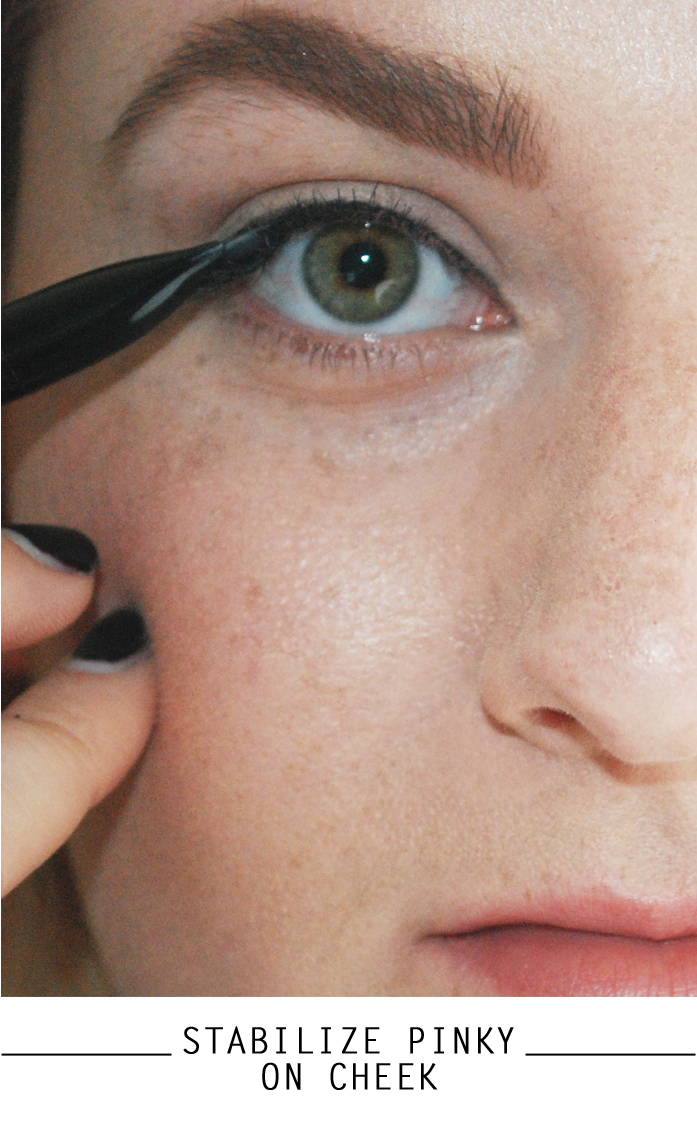
It is very important to stabilize your pinky while applying the liner. Just like drawing a straight line on a piece of paper, this will help ensure the smoothest application possible.
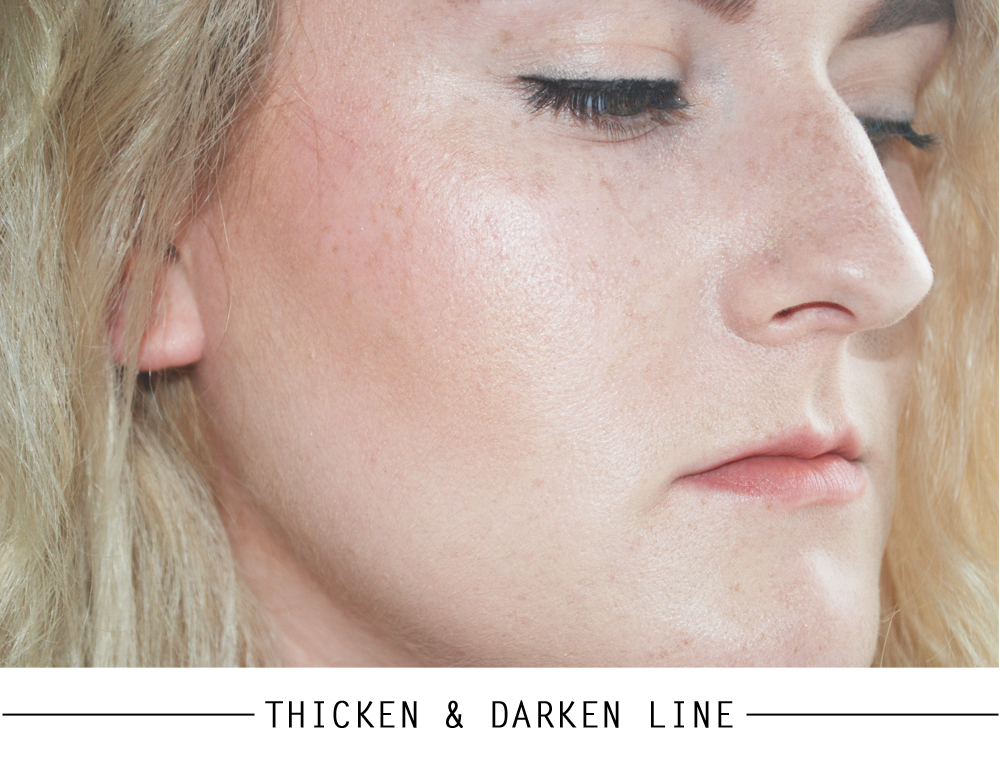
Go back in and thicken and darken the line you drew. The line should be the thickest on the outer corner and gently taper towards the inner corner.
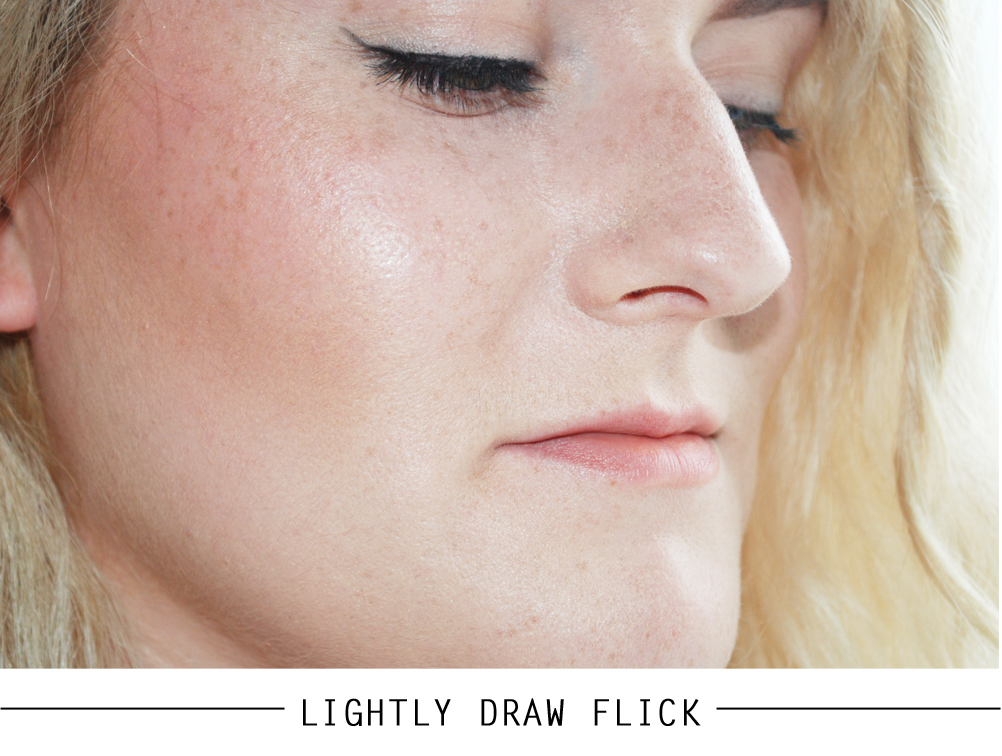
Lightly draw the flick on the outer corner. It should point to the tip of your eyebrow – you should be able to line them up.
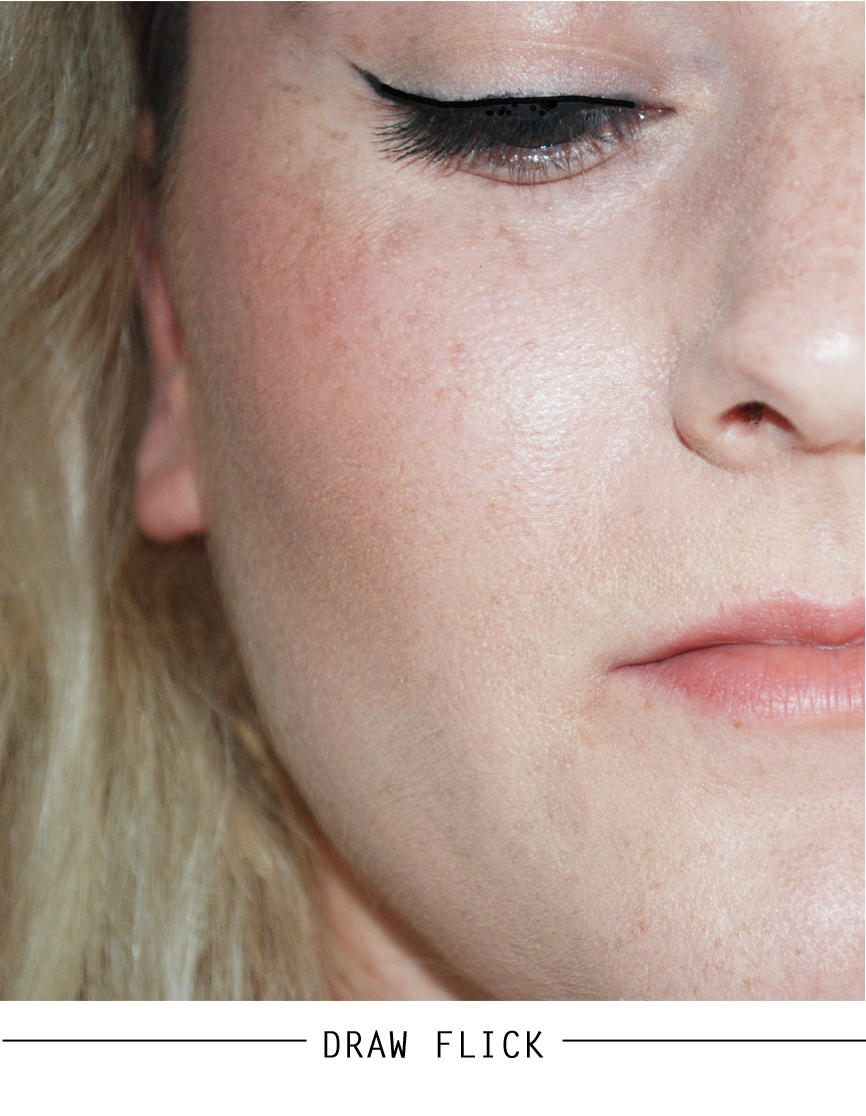
Once you’ve created the perfect angle for your flick, go back in and thicken and darken it. Close your eye to make sure it creates a smooth line with the original line you drew.
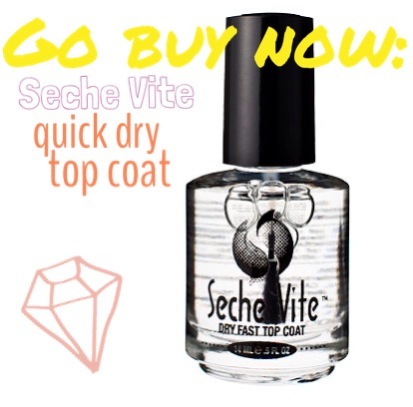
As somewhat of a DIY manicure aficionado, nothing’s more important to me than a quality quick-dry top coat. That being said, I have some fairly rigid standards which can be hard to meet. I was on my third bottle of Essie Good to Go! when I’d heard about Seche Vite’s quick-dry top coat. Until then, I’d been faithful to Essie’s top coat because I love their polishes so much, but honestly, it fell short in a lot of ways. The formula caused a lot of shrinking and rippling of the color underneath and although my nails did eventually dry, it seemed to take a bit longer than I would’ve liked. The worst was that after a few months, the formula turned really thick and I’d be forced to throw it away and buy a fresh bottle.
I finally ordered Seche Vite’s quick-dry top coat from Amazon to give it a whirl and was blown away. The polish underneath stayed smooth, my nails were shinier than ever, and they dried in an instant! Last night I did an at-home mani before bed and my nails dried solid before I even hit the sheets (no more annoying sheet marks!). I’m so impressed with this product. Forget frustrating DIY manis that end up nicked, smudged, and smeared. My nails have never looked better, even straight from the salon (on the occasion when I splurge on a professional mani)! Trust me, this is one product you need to go buy now.